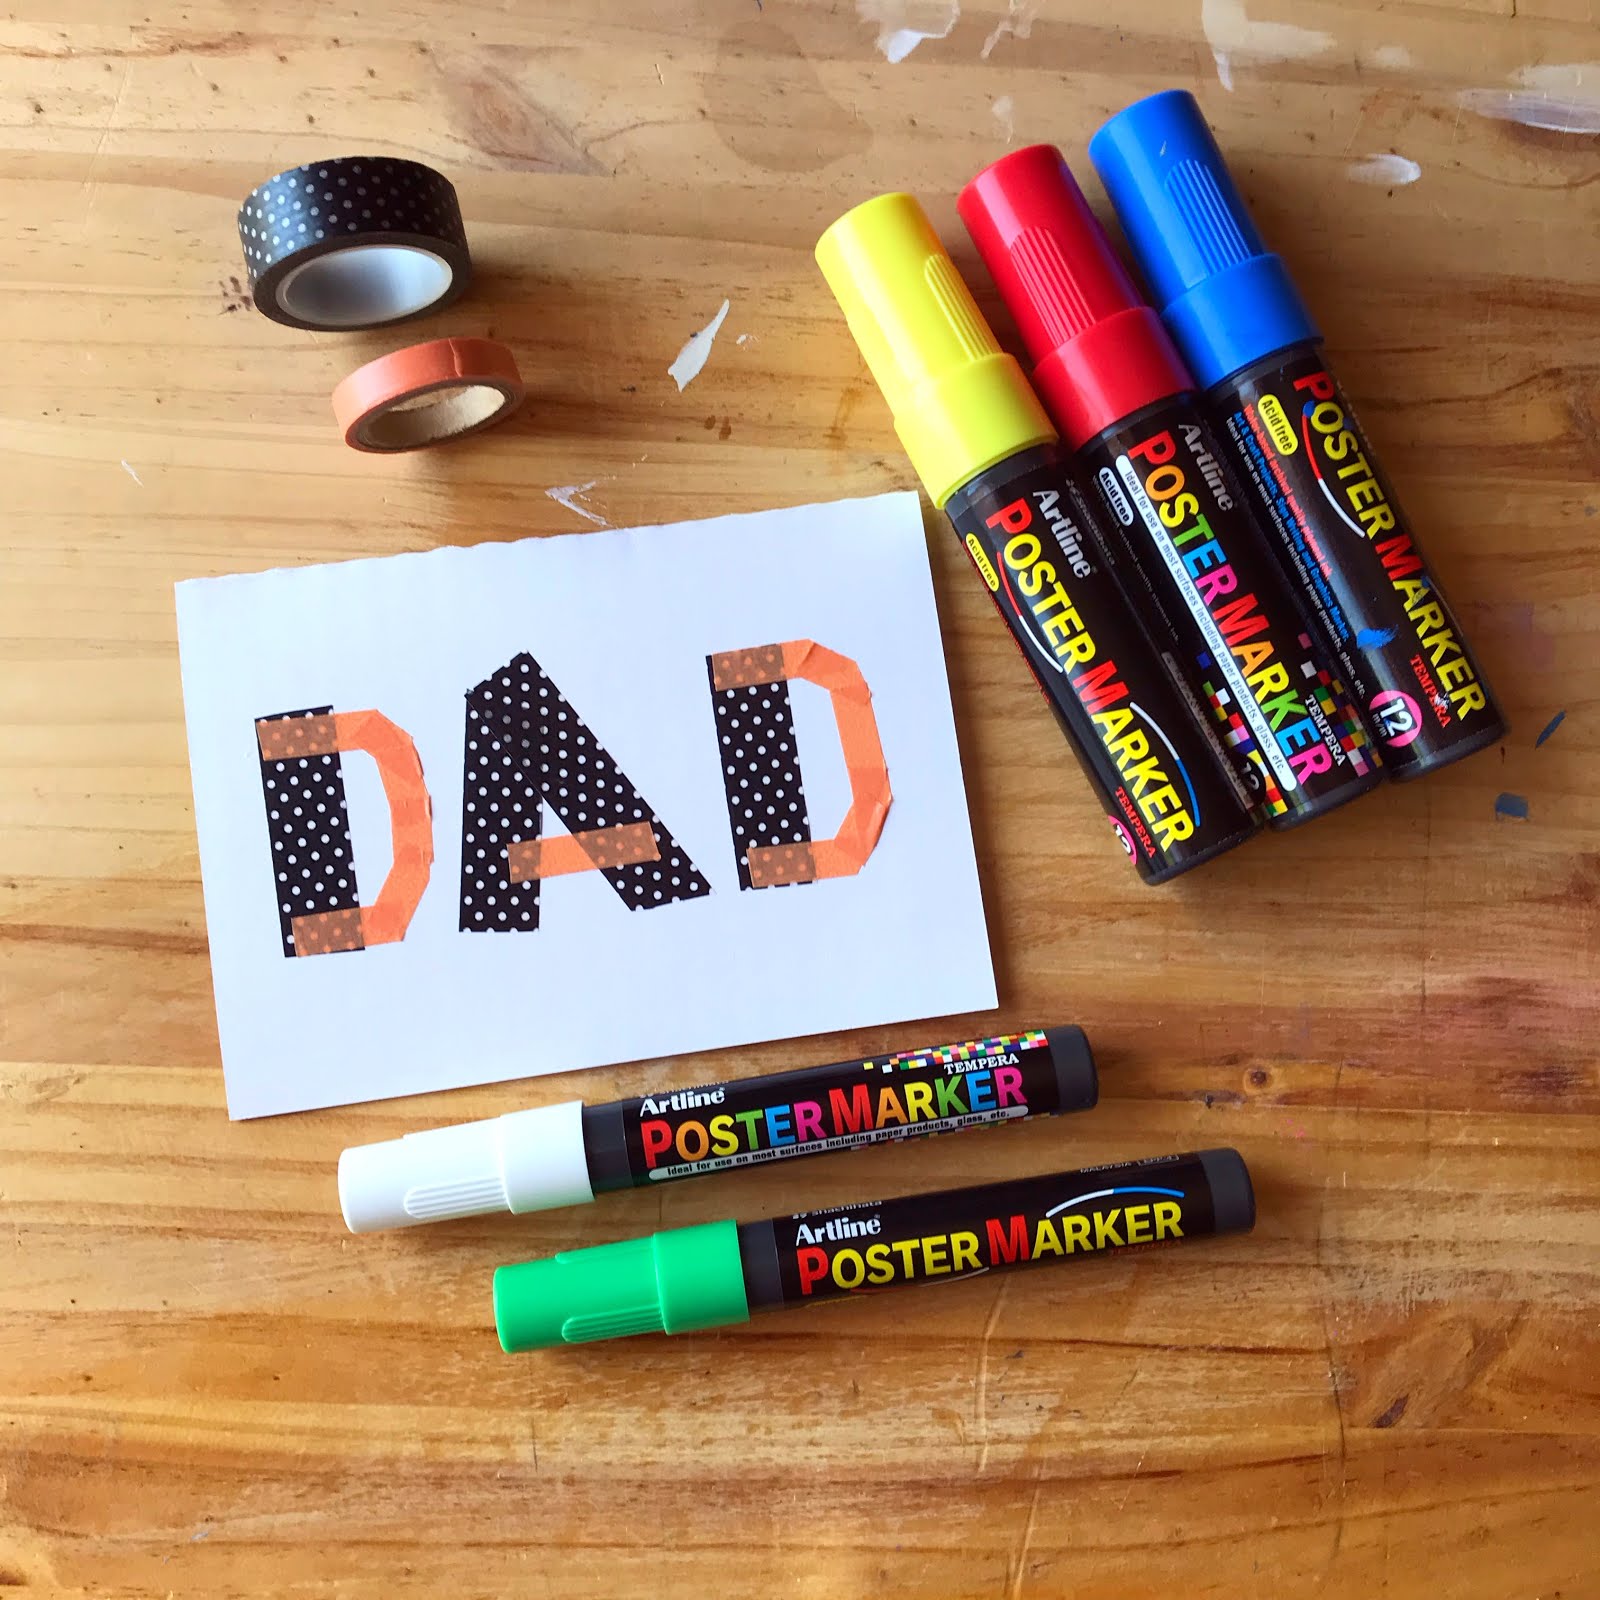
I recently brought some lovely linen card so I thought I would use it to make my own greeting cards for my friends and show you a few different designs you could have a go at yourself.
 |
| Rustic edges |
The card I used is A5 size so I folded it in half (top to bottom) and then tore it along the crease using my ruler. Then I folded my two separate pieces in half again (side to side this time) to give me the basic shape of my cards.
I attended a workshop a while ago with an amazing man who makes his own bespoke cards and he said that he prefers a rustic edge on his pieces so I thought I would try to do the same with mine. I placed my ruler against the edge of my card leaving a small slither uncovered and tore it off along the ruler. I repeated this process along both sides of the cards and used the raw edge from when I ripped the A5 card into two as the top. I left the bottom edge as it was so the cards would have a stable base to stand on. If you don't like the rough edges then use scissors to cut your card down to size instead.
Okay so now we have the basic card shapes let me show you my designs!
I attended a workshop a while ago with an amazing man who makes his own bespoke cards and he said that he prefers a rustic edge on his pieces so I thought I would try to do the same with mine. I placed my ruler against the edge of my card leaving a small slither uncovered and tore it off along the ruler. I repeated this process along both sides of the cards and used the raw edge from when I ripped the A5 card into two as the top. I left the bottom edge as it was so the cards would have a stable base to stand on. If you don't like the rough edges then use scissors to cut your card down to size instead.
Okay so now we have the basic card shapes let me show you my designs!
 |
| Hand lettering with my Artline Supreme brush markers |
If you are confident with you lettering skills or just want to have a go then why not write a message on the front of your card? If you are worried about making a mistake have a few practice goes so on some scrap paper before you move onto the card. I love my new Artline Supreme brush markers so I selected my two favourite colours and wrote "hello there!" on mine. Take your time writing each letter and remember to put more pressure on your downward strokes to make those lines thicker.
 |
| Hello there! |
My second card is a little easier than the first one. I went through my sticker collection and found this fun ice lolly one which says "You are FAB" on it. I used a pastel pink calligraphy pen to write "I think" above the sticker but if you don't like using calligraphy ones then you could use a regular nibbed pen like Artline Supreme markers as they are a nice thickness and come in a lot of bold colours.
If you can't find a sticker you want to use then you could look for a journalling card with a meaningful message on it to glue to the front of the card instead.
To make the lolly stand out and to add a little more colour to the card I used a yellow calligraphy pen draw a few lines around the sticker which I think is the illustrative equivalent of shouting TA-DA!
If you can't find a sticker you want to use then you could look for a journalling card with a meaningful message on it to glue to the front of the card instead.
 |
| Adding the finishing touches |
To make the lolly stand out and to add a little more colour to the card I used a yellow calligraphy pen draw a few lines around the sticker which I think is the illustrative equivalent of shouting TA-DA!
 |
| I think you are fab! |
My last card is for people who love to doodle or have some cute image stamps they can use. Mine says "We go together like.... coffee and donuts" and has a sweet little illustration of a tasty donut and travel cup of coffee.
I coloured in the images with some Artline 200 fineliners which are really vibrant against the white background and perfect for adding small details like the sprinkles I drew on top of the donut.
Once you have made your card or cards you just need to write something inside to tell your friend/s how awesome they are and why you are happy they are in your life!
I think World Friendship Day was invented by Hallmark as way of selling more cards but it is a really nice idea! So if you make your own you are still sharing the love and it feels a lot more personal than a store brought card too.
Have a wonderful World Friendship Day!
 |
| Colouring in with my fineliners |
I coloured in the images with some Artline 200 fineliners which are really vibrant against the white background and perfect for adding small details like the sprinkles I drew on top of the donut.
 |
| We go together like.... |
Once you have made your card or cards you just need to write something inside to tell your friend/s how awesome they are and why you are happy they are in your life!
 |
| My cards |
I think World Friendship Day was invented by Hallmark as way of selling more cards but it is a really nice idea! So if you make your own you are still sharing the love and it feels a lot more personal than a store brought card too.
 |
| Who will you be sending a card too? |
I would love to receive some happy mail in the post so I hope these cards bring a smile to my friends faces when they arrive!
 |
| Happy World Friendship Day! |