Monday, 15 October 2018

Artline Monday - More Halloween fun

So we are still getting ready for Halloween in our house, we really like to go all out with lots of decorations, spooky themed snacks and family friendly scary movies, half term is practically a week long celebration of everything creepy and fun!  I always decorate our front door too so people know it's okay to come and trick or treat on the 31st October, so for today's post I am going to show you how I do it using my Artline glass and chalk markers.

The first thing I wanted to do was make a chalkboard sign to hang outside, I brought a cheep one from Home Bargains and got a bag of googly eyes too. 

Supplies for a spooky chalkboard sign

I painted the wooden frame with a red poster marker, it only took me a few minutes using the 12mm sponge tip and it dried really quickly. 

Painted frame

Then I glued some of the googly eyes to the frame.


Googly eyes

I used my white chalk marker to write "Tricks" and "Treats" on the board....


Writing the sign

... and then used my purple chalk marker to write "no" and "just"...


Finishing the quote

... the last steps were to add some cobwebs to the corners of the chalkboard...

Drawing some cobwebs

.... and then a loop of twine so I can hang the sign up!


My finished sign

Outside I got to work on my door using the glass and chalk markers and a few window stickers and chalkboard labels.

Both the glass and chalk markers work well on glass so they are great for drawing on your windows.  They wipe away easily with a damp cloth too.

Adding some grass with a glass marker

Drawing a pair of eyes on my letterbox

Colouring in the whites of the eyes

Boo!

I didn't want to use the markers on my UPVC door so I stuck a few chalkboard label stickers onto it instead and then wrote and drew on those with the chalk maker.  I can peel them off after Halloween and throw them away without worrying they might damage my door.

Close up of my window decorations

I have a couple of stickers on the glass of my door that say no leaflets and no door to door sales so I covered these with some black tissue paper and used an oval chalkboard sticker to make a cute little spider, adding eyes, legs and a web with my chalk markers.  I also drew a ghost and wrote "Hide" and "Run away" on the glass before adding a few more decorative stickers to finish the look.  

All set for Halloween

I am quite pleased with how the front looks now, but if I change my mind it will be easy to wipe it all away and start again!

What do you think? 


Monday, 8 October 2018

Artline Monday - Halloween decorations

Halloween and half term are fast approaching so for today's post I am going to show you how to make some spooky decorations to keep little hands busy during the school break.  Everywhere we go my youngest has been collecting conkers and bringing piles of them home but she didn't know what to do with them so I thought it would be fun to use some in a crafting session this weekend.

Conkers, card, twine & Artline pens

For this craft you will need:

  • Conkers
  • Card
  • Twine or string 
  • Artline poster and paint markers
  • A pen or pencil
  • Scissors 
  • PVA glue

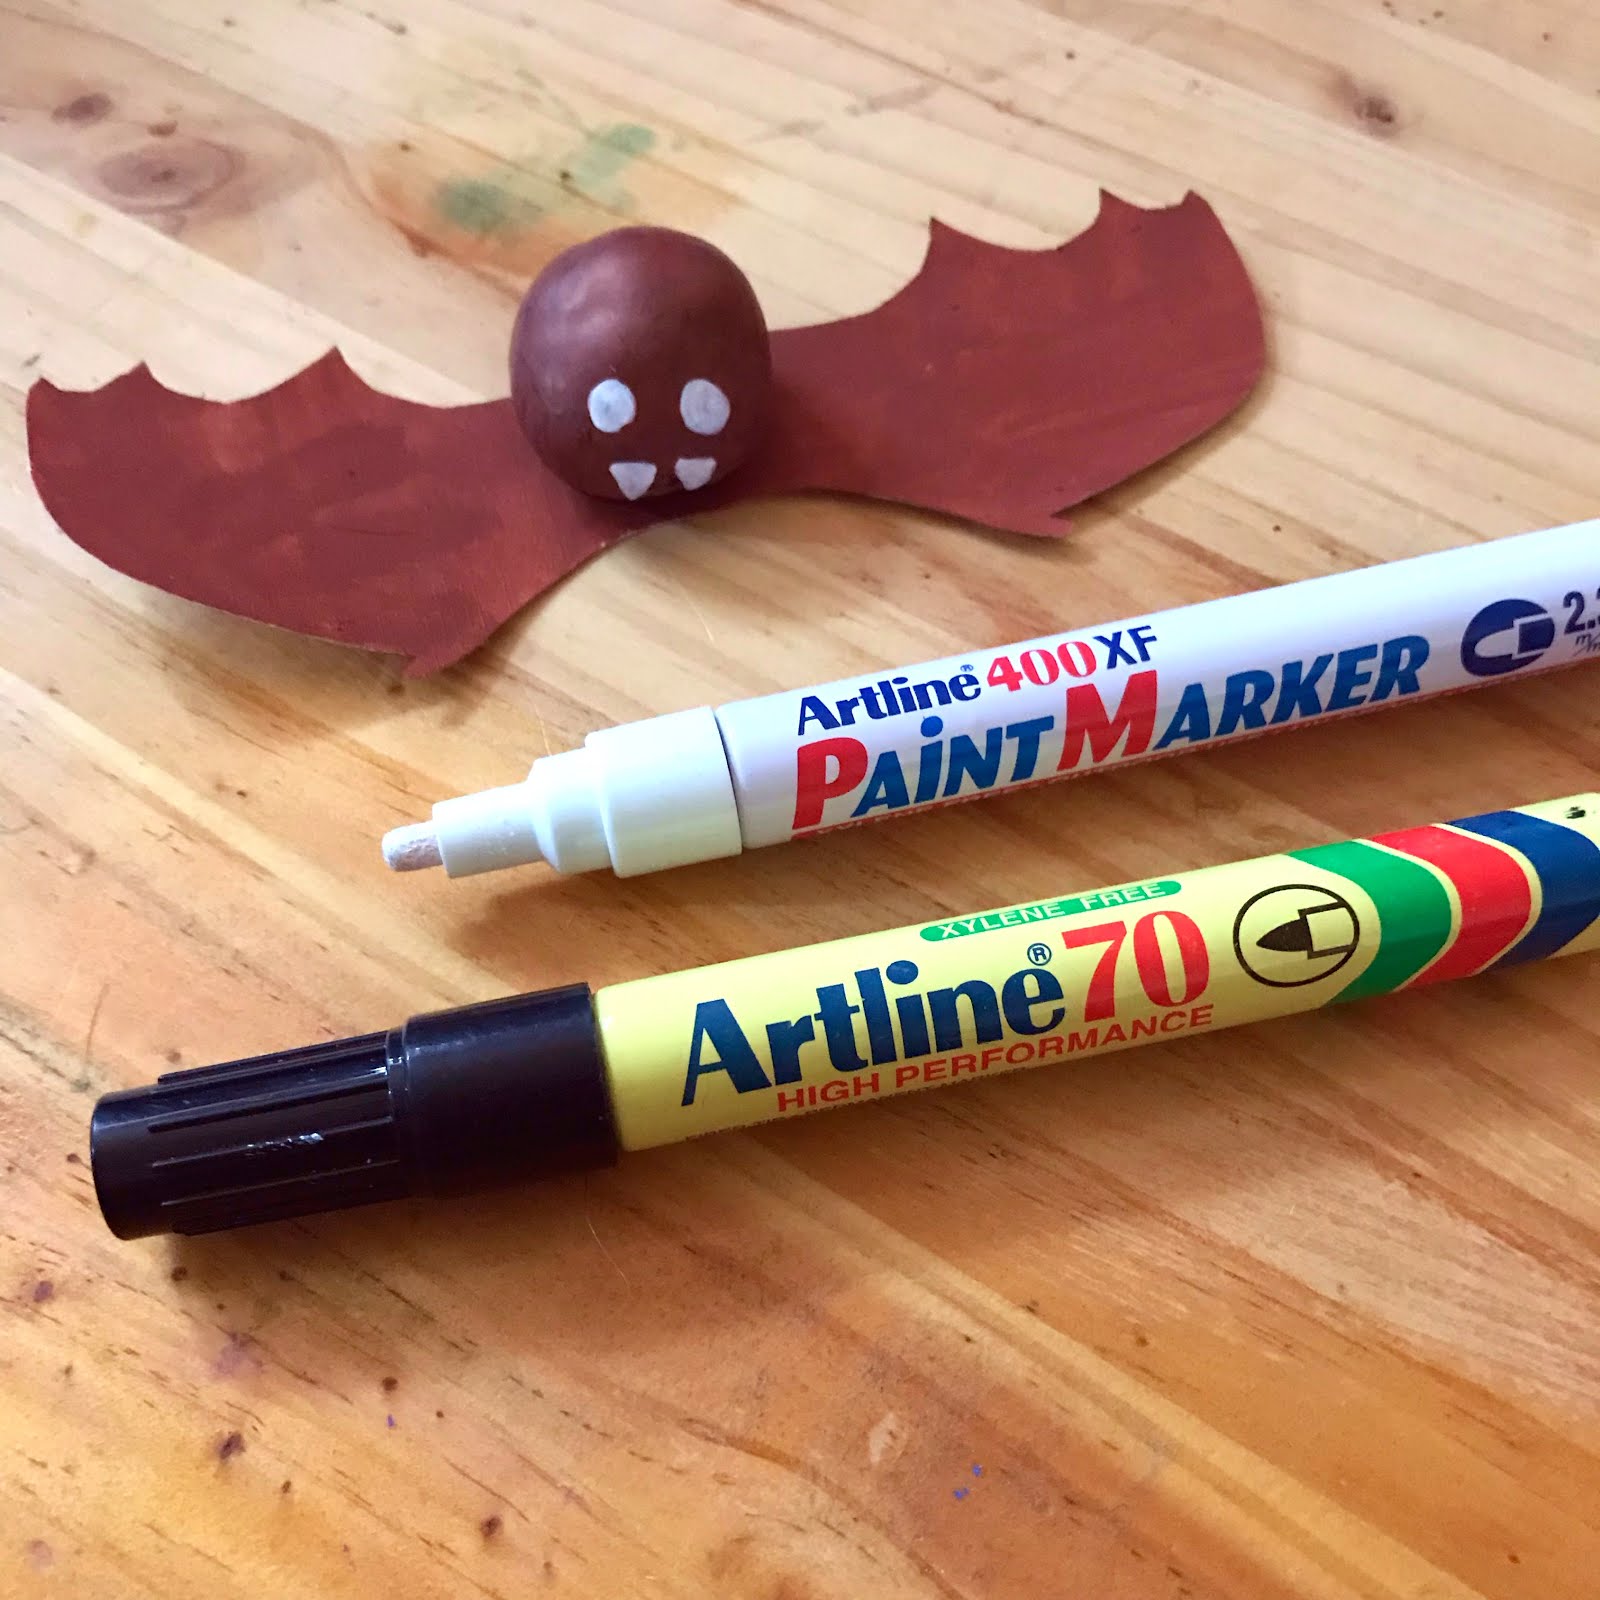
We turned our conkers into spiders, ghosts, a pumpkin and a vampire bat!

For the bat I folded our card in half and drew the shape of one wing, the body of the bat would be along the folded edge so after you cut it out you will be left with two wings joined together in the middle.

Drawing the bat's wing

Cut out

Painting the conker & wings with a poster marker

Adding eyes & vampire teeth once the paint had dried

After the eyes and teeth had dried we used a black Artline 70 marker to add the finishing touches, pupils and a mouth to our bat and then stuck the conker to the wings using PVA glue.

For the spiders we painted a couple of conkers with green and red poster markers and cut out two circles of white card.  

Painting the conker red

We drew eight legs on each card, added faces and decoration to the bodies and then glued the conkers to the middle of the cards.

Next we made some ghosts.  I drew a couple of basic ghost shapes onto the card, cut them out and then painted one blue, we left the second one white as that is a more traditional ghost colour.  Then it was time to paint the conkers, some of the shinier ones took a couple of coats to cover them completely but the paint dries quickly.

Drawing a ghost shape

Painting the conker white 

Painting the ghost shape & conker blue

We drew faces on the ghosts with the Artline 70 pen and paint marker and then moved on to the pumpkin.

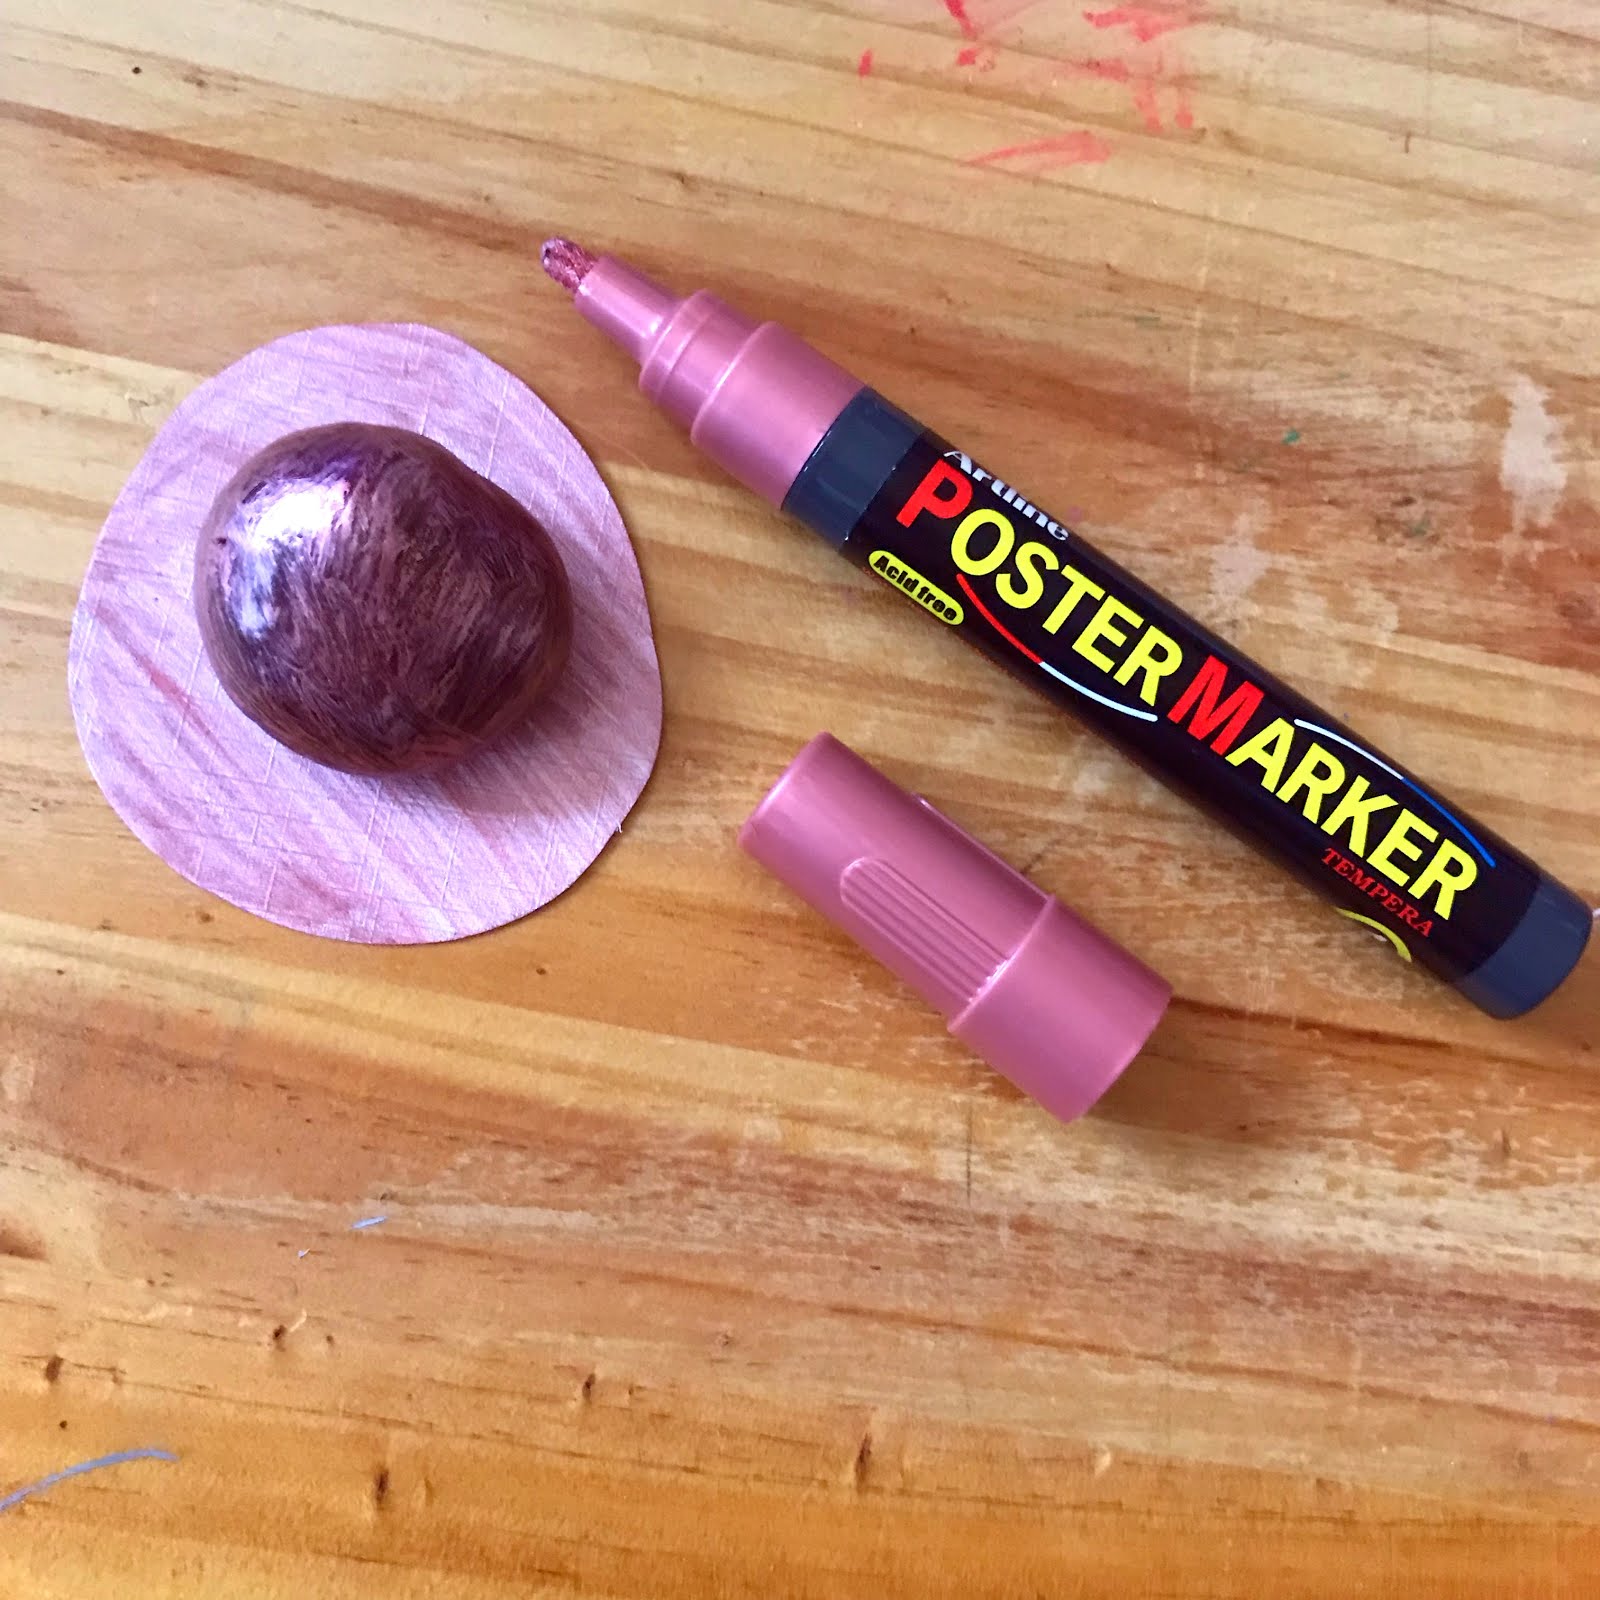
This one is a little bit Pinterest inspired as we made it metallic pink instead of orange! 

Painting the card and conker metallic pink

Adding a Jack o'lantern face & gluing the conker to the card

Once we had made all our creations I glued some loops of twine onto the back of the card on each one so we could hang them up.

Our spooky decorations!

I threaded the decorations to a longer piece of twine to make some scary bunting, perfect for a Halloween party!

Scary bunting!

If you want to try some more Halloween crafts then check out my creepy candle jars and ideas for pumpkins too!


Monday, 1 October 2018

Artline Monday - Inktober daily drawing challenge

Who's ready to get inky fingers!?  It is the 1st October and that means it is also the start of Inktober!  I have heard a lot about this artistic challenge over the last couple of years but I have never joined in before so this is going to be all new to me but I'm really excited to get started!

The idea is to create a piece of art each day using pens and ink and share your drawings online with the tags #Inktober and #Inktober2018.  


My sketchbook and Artline pens

All you need to join in is some pens and a sketchbook or paper and the daily prompts to inspire you which I have added below.  The challenge is open to everyone no matter your skill level so don't feel like you have to be an amazing artist to take part, the whole point of Inktober is to get lots of people creating and enjoying drawing!

Daily prompts for the challenge

The prompts are just a starting point so you can interpret them however you like and the only rule is you must use a pen or pens to do your artwork.  You can sketch it out in pencil first if you like and then go over it with a pen or go straight for the ink, your drawings can be black and white, monochrome or colourful, it is all about celebrating your unique artistic style and it is up to you how you tackle this challenge!  

I am not a brilliant drawer, I feel like I used to be really good when I was doing my art A Level but since having children I rarely draw anything more than doodles which is a shame because I used to love filling my sketchbook with random creations and sketching things I had seen so I am looking at this month as a way to kick start my artistic side again!

The prompt for today is "poisonous" so I have been quite literal and drawn a bottle of poison, it is a bit wonky and not my best work but I'm hoping if I try to draw something each day I will improve by the end of the month.

Day one - poisonous

Whenever I take part in a daily challenge I like to get a little ahead of myself in case something comes up and I don't have the time to do it on the day so I have also completed tomorrow's challenge too which is "tranquil".


Day two - tranquil

I based this on a meditating Buddha and while it is quite simple I am happy with how he turned out!

So, will you be taking part in Inktober?  I will be sharing my drawings on the Artline social media accounts so make sure you are following them on TwitterFacebook and Instagram to see what I come up with!

Happy drawing!