So carrying on from my previous post (the making of my cover) I wanted to show you the photos I took of my Nomad once it had arrived and then how I have set it up and what I am using it for.
 |
| Fresh out of the box |
As I said before this is a custom cover so I decided the colours and leathers used to make it and the internal layout. I went with Janet leather (104) on the outside which is a nice thick leather and a lovely orangey-brown/rust colour. I had already had a sample of the leather from when I was designing my custom organiser so I knew what I was getting but seeing it on a larger scale as part of the finished cover, I was blown away by the quality of it. It contrasts nicely with the undyed leather (102) interior and I couldn't wait to start using it!
Van der Spek give you a few different options for the Nomad covers:
- The basic model - just the cover with no pockets or pen loop.
- The complete model - this has the same layout as mine on the left hand side of the cover and a secretarial flap and a slip pocket on the right hand side with an elasticated pen loop.
- The basic model with added extras - you can pick and mix what you need for your cover.
 |
| I added this standard pocket configuration to the basic cover |
I chose the basic model with added extras. I didn't think I would use a secretarial flap in my traveller's notebook so I didn't want to buy the complete cover but I did want some pockets and a pen loop so I added these options and I am very happy with how it turned out.
 |
| Elasticated pen loop on the right hand side |
 |
| Perfect contrasting stitches |
 |
| Back view of the elastics |
At the moment I have two notebooks in the cover. The first has grid paper and I am using it for lists and notes. The second is made with plain paper and I am using it for being a bit creative. It has been a very long time since I have had an art book but I was feeling inspired once I had set everything up so I got busy gluing and sticking and having a little fun. Here are some more photos for you!
 |
| First notebook - grid paper |
 |
| Slip pocket and zipped insert |
 |
| Behind the slip pocket is space for business cards |
 |
What's inside my zipped compartment & the front
of my second notebook |
 |
| The joys of spring |
 |
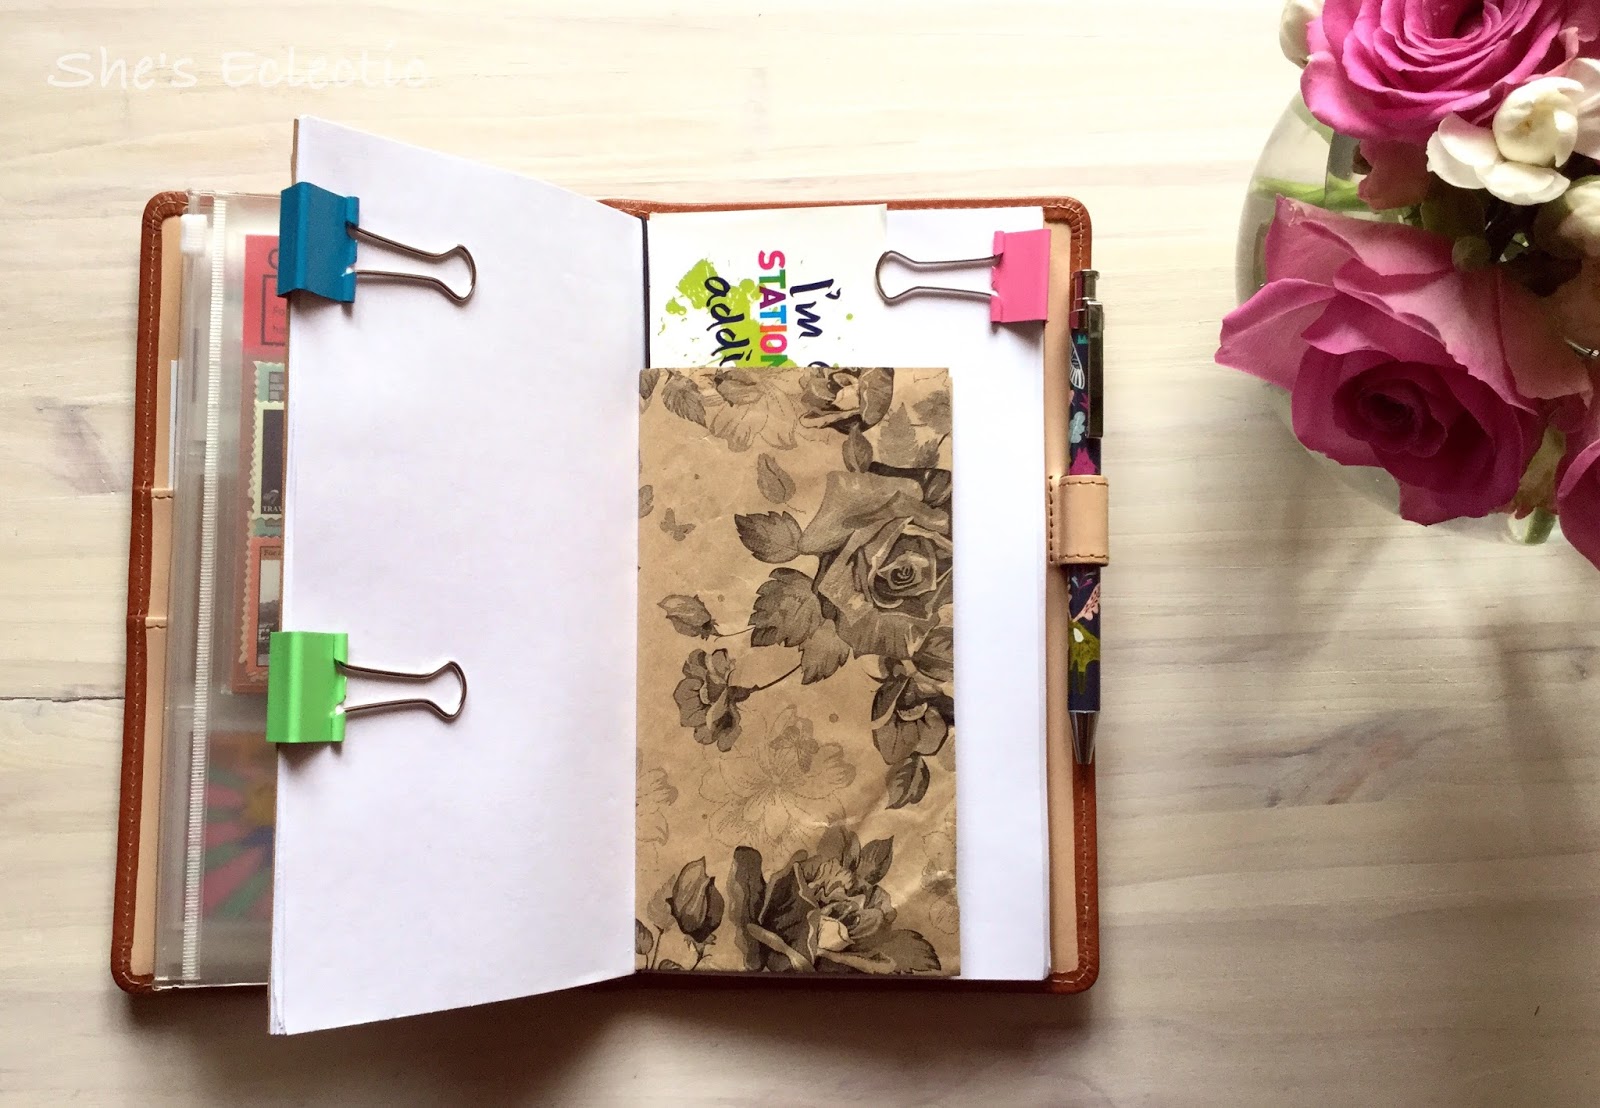
| An extra little pocket made using a pretty paper bag |
 |
| The view from above |
So that's my new traveller's notebook! I absolutely love it and I am really enjoying using it. I will write another post about it soon.
Thanks for stopping by!


Really gorgeous!
ReplyDeleteThank you Loree!
Delete