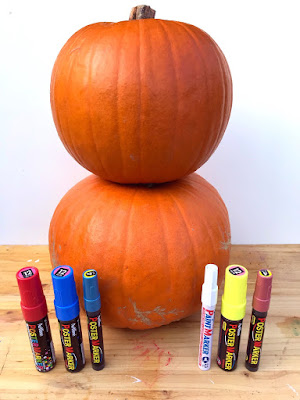
One of my favourite Halloween traditions is making Jack o'lanterns with my kids, we try to create different designs each year so I usually hit Pinterest to look for inspiration. This year I came across some lovely no carve pumpkins so I thought I'd have a go at making a couple.
For the first pumpkin I wanted to do something a bit girly so I started by painting half of it metallic pink with my Artline poster marker and the other half white.
 |
| Metallic pink |
 |
| White |
It only took one coat of paint to cover up the orange skin and the pink colour looks so pretty!
 |
| Painted pumpkin, look at that shine! |
Once the paint was dry I added a big squirt of gold glitter glue around the top of the pumpkin and then used a brush to spread the glitter around. The last step was to add some gold and bronze confetti to the top half of the pumpkin. I really like how it turned out!
 |
| Poster markers, confetti & glitter glue |
According to my daughter the second pumpkin had to be more Halloweenie (that's a word, right?) so I got out my Artline 900XF silver pen and started drawing a spooky spiderweb.
 |
| Metallic silver pen |
I also coloured in the pumpkin stalk with a black Artline 70 marker to make it look like either a fly or a baby spider in the centre of the web.
 |
| Colouring in the stalk |
 |
| Drawing the web |
I drew a large spider sitting in the web and then glued on some googly eyes.
 |
| Adding the spider |
Here is the finished pumpkin!
 |
| Halloween pumpkin |
The nice thing about no carve pumpkins is that they still look great during the day whereas the carved ones look best lit up in the dark and they will last a while longer too.
 |
| On the doorstep |
If you want to make some traditional Jack o'lanterns then take a look at the ones we made last year for some ideas. The haunted house one is my favourite!
 |
| Last year's pumpkins |
Thanks for stopping by!


No comments:
Post a Comment