Showing posts with label Mason Jar. Show all posts

Monday, 3 December 2018

Artline Monday - Make A Gift Day

Today is Make A Gift Day so it's the perfect time to share another Christmas craft with you!  This time I am making a festive snow scene for my neighbour's daughter who is obsessed with dinosaurs but you can pop whatever you like inside yours and the method will be the same.

Gathering my supplies

For this craft you will need:

  • A clean empty jar with a lid
  • Some fake snow or white or silver glitter
  • Items to create your scene like small toys, pine cones or Christmas decorations
  • Artline 900XF metallic pens
  • A white Artline poster marker
  • A piece of foam or a small sponge

I found this dinosaur in the bottom of a toy box in my children's room, he looked a little worn and unloved so I transformed him with my metallic silver Artline 900XF marker and now he looks much better!


Colouring in the dinosaur toy

I wanted to make my pine cone look a little special too so I added some gold highlights to the tips of it.

Adding gold highlights

Unless you want to be covered in marker it is a good idea to set anything you have coloured in to one side and leave them to dry for a while.

Waiting for the ink to dry

While they were drying I used the lid to draw a circle on my sponge so it would be roughly the same size as the mouth of my jar.  The sponge is going to raise my scene so it will be higher up in the jar than if I just glued everything directly to the bottom of the lid.

Drawing around the jar lid

Then I cut out my circle and painted the top of it white with the Artline poster marker so it would look a little snowy.

Painting the sponge

I used super glue to stick the sponge to the inside of the lid....

Gluing the sponge inside the lid

.... and then glued the tree, pine cone and silver dinosaur on top of the sponge.

Glue your items to the sponge to create your scene

I added some fake snow inside the jar, the amount you can see in this photo was too much so I had to take about half of it back out!

Add your fake snow, you'll need less than you think

Once the glue had dried and my figures were secure and in place I screwed the lid back onto the jar.
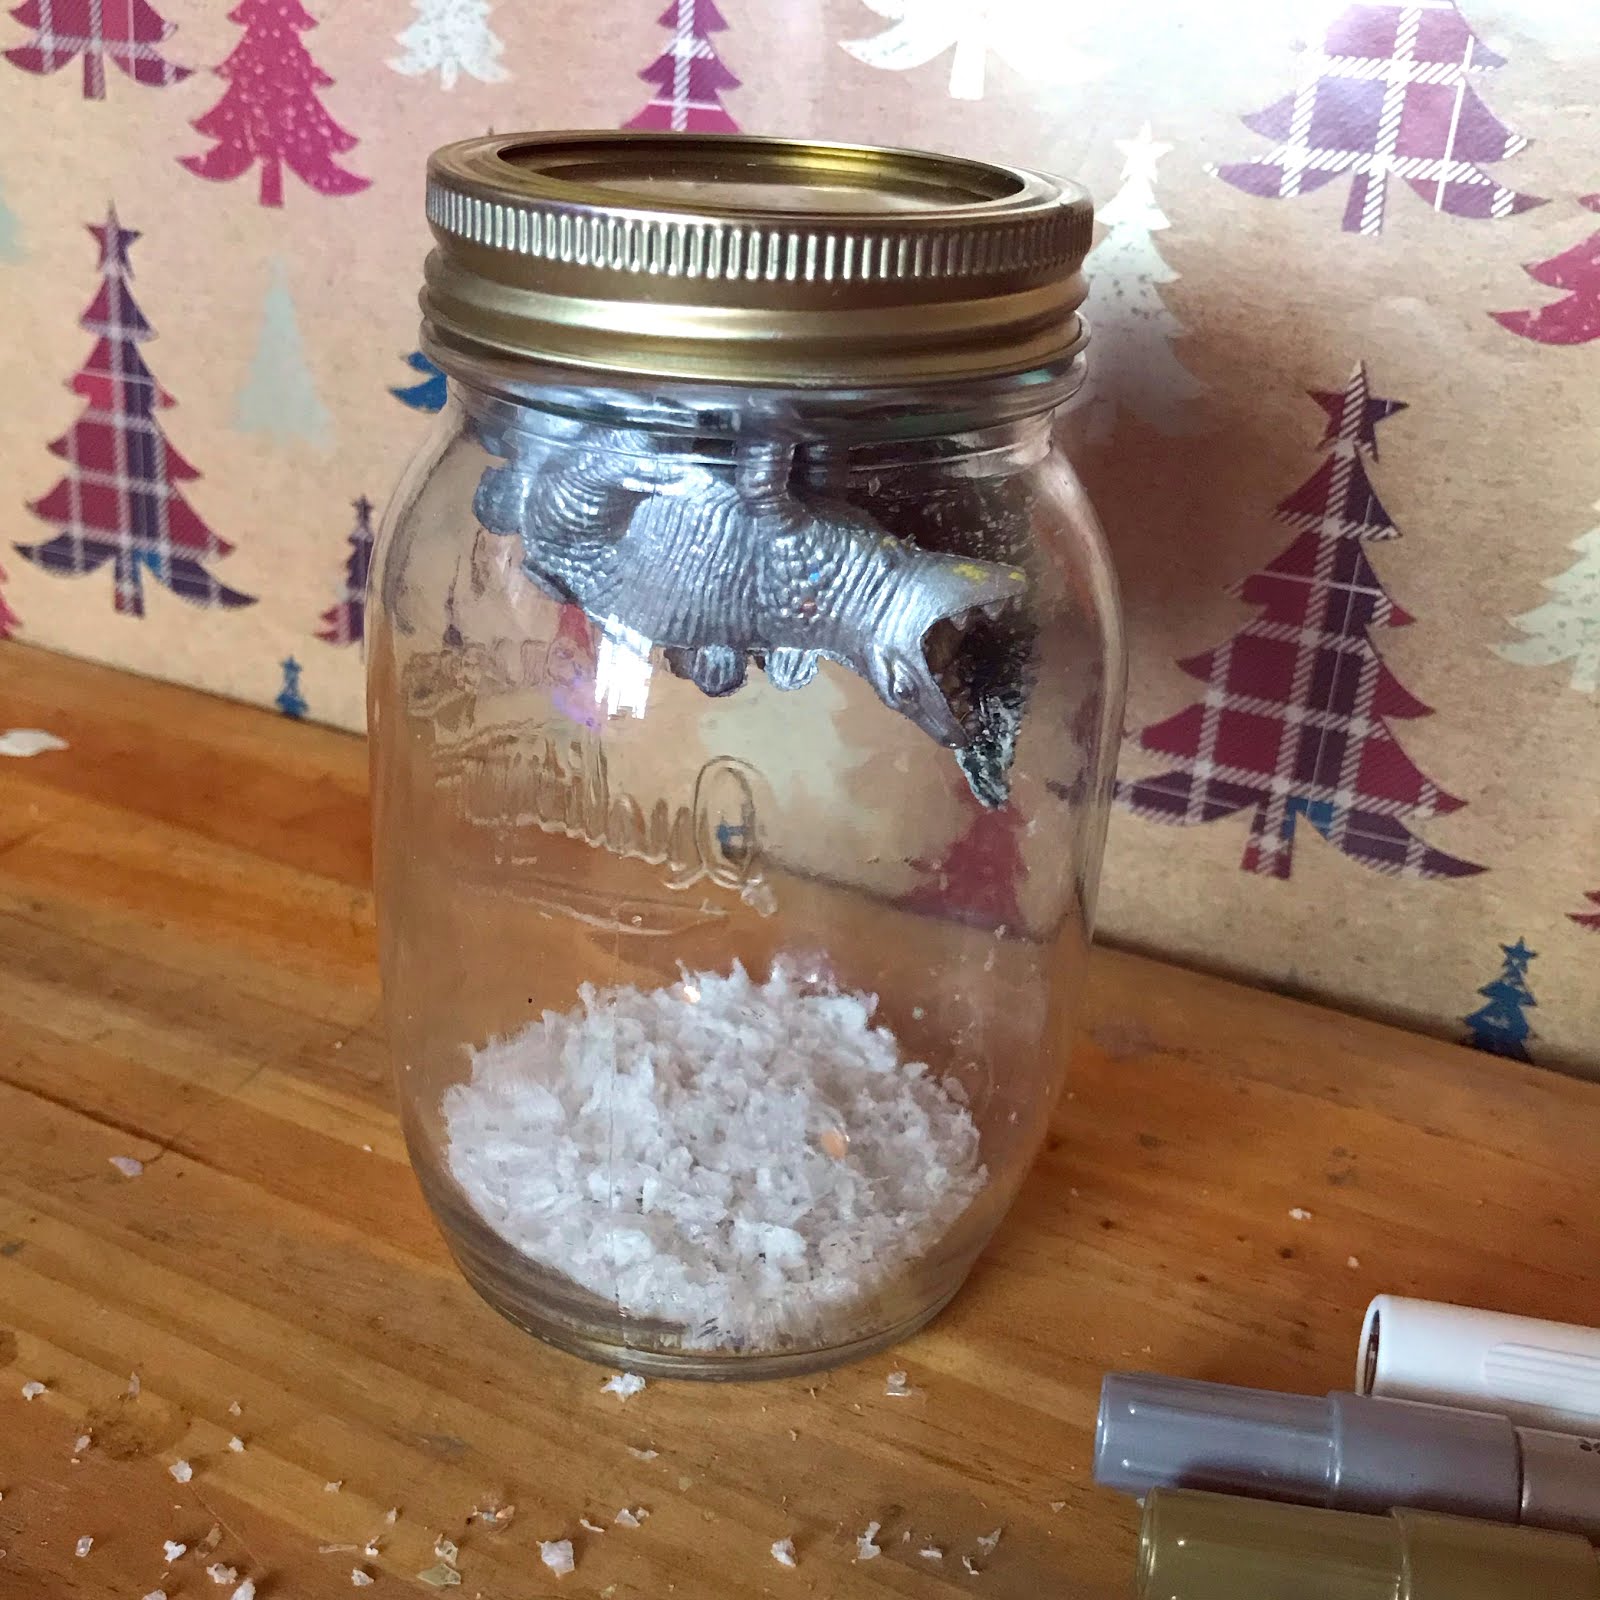
Screw the lid onto the jar

Flip the jar over and you have your snowy scene!

The finished snow scene

You can make these scenes with any size jar, from tiny mini ones to huge ones!  You just need to make sure whatever you glue to the lid will fit inside the jar and through the mouth of it before you start.  

If you wanted to make them into traditional snow globes you would just need to add some water and a spoon of glycerine to help the glitter float around.  You should also glue the lid shut so no one could open the jar again once it had been filled. 

Now I know how well the Artline 900XF metallic pens work on such odd surfaces I keep thinking of all the things I could use them on to make more Christmas decorations!  If I find anymore small forgotten toys I just might colour them in too, thread them with some ribbon and hang them on my tree!


Monday, 26 November 2018

Artline Monday - Mason Jar Christmas gift

Did you know that the 30th November is Mason Jar Day?  Well, I do love a little mason jar craft and as we're getting nearer to Christmas I thought I would share with you one of my favourite quick and easy gift ideas.

Supplies for my mason jar craft

You will need a mason jar (or a similar style jar), Artline poster and Supreme markers, hot chocolate powder, mini marshmallows, some sprinkles or chocolate buttons and a ribbon and gift tag. 

Before we begin you need to wash out your jar with some soapy water as we will be filling it with food and then leave it to dry completely.  When that is done you can start to decorate the outside of your jar.  I wanted to do a pretty snowflake pattern on mine so I started to draw this with my white poster marker.

Adding a snowflake pattern around the jar

When I was happy with how the design looked I added a few highlights with the Supreme metallic markers in blue, gold and silver.  They are quite hard to see when the jar is empty but they standout more once it is full.

Layers in the jar

I filled the jar in layers, the hot chocolate powder goes in first and should be about half of the contents.  Then you add mini marshmallows, the more the better and finally top the rest up with either chocolate buttons or sprinkles.

Decorating the tag

I carried on with the snowflake theme on my gift tag, drawing a large flake on the front and added some silver sparkle with the Supreme marker.

Writing my message

Then I wrote my message on the other side.  I used a white calligraphy pen because I love how white ink looks against kraft coloured paper and card and it matched the design I had drawn on the front of the tag.  You could also you the tag to write down the instructions for making the hot chocolate, 3 heaped teaspoons of powder mixed with hot water (or however many spoons the jar it came from says) and then generously top with marshmallows and chocolate sprinkles or buttons.

Finished with a bow

The last step was to thread the tag onto my ribbon and tie it around the top of the jar with a big bow.  

This really is a fun and easy gift to make, it is perfect for children to make for their friends or great for the chocoholic in your life!  As all of the ingredients are in an air tight jar they should last quite a long time, but if the recipient is anything like me this will be long gone by the start of the new year!

Please let me know if you have a go at making your own, I'd love to see it!


Monday, 10 September 2018

Artline Monday - Roald Dahl Day 2018

Ever since I was a child I have absolutely loved Roald Dahl's books so I couldn't let Roald Dahl Day go by without doing something special to mark the occasion!  It falls on his birthday, the 13th September and it is a day to celebrate the wonderful characters and worlds he created and the love of reading he inspired and is still inspiring in generation after generation of children.     

There are so many great Roald Dahl books that is hard for me to choose a favourite but I have always loved this quote from The Twits so I thought it would be nice to write it in my notebook using my fineliners and Artline Supreme brush markers as a little reminder to be kind and have good thoughts.

Roald Dahl quote with Artline Supreme brush markers

Mixing different styles of lettering, pens and colours creates an interesting look and adding extra outlines, swirls and spots shakes things up a little too! 

Okay, now let's move on to the craft project I have for you today, we are making dream jars from the BFG!  If you remember the BFG is a big, friendly giant who makes nice dreams for children by mixing good things together, capturing them in a jar and then blowing them into the ears of sleeping children using his special dream blower.  These jars will also make a sweet nightlight for little ones who are afraid of the dark as well as being fun to make! 

You will need:
  • a glass jar - storage, mason or an empty jam/pickle jar
  • Artline poster and/or paint markers
  • stickers for decoration
  • LED tealights
  • Glitter glue or glitter paint (optional)


Supplies

In the book the dreams look like little colourful clouds and when they are caught in the jars they shimmer and shine which is why I added the LED tealights to mine to make them look extra magical but before we get to that part we have to decorate the outside of our jars.

Adding colour with my poster marker

You can decide with your children what kind of colours and design they would like on their jar, I started by painting the bottom of mine with one of the poster markers and then added some big, glittery flower stickers.  

Embellishing around the stickers

The base dried very quickly and then I used more poster and paint markers to create a whimsical pattern around the jar.  Both sets of pens work really well on glass and will stay in place once they are dry.

Drawing flowers

When my pattern was finished I wanted my jar to look more cloudy and less see through so I painted the inside of the glass with gold glitter paint (but you can use glitter glue if you like) and then left it dry.  
Pink and flowery dream

The last step was to turn on the LED tealight, pop it inside the jar and put the lid on.  Because the tealight is so small and battery operated the jar will not get hot whilst the light is on so it is safe to use overnight.

For my second jar I decided to deviate from the description in the book and I drew a woodland scene instead.  Again I used the poster markers to decorate the jar and this time I added some cute animal stickers too.

Creating a scene 

I think it looks like a perfectly nice dream to have!  

Woodland dream

Here are my finished dream jars, I can't wait to see how they look tonight in a darkened room with the lights flickering inside them!

My dream jars

I shot this short video of the jars with the lights on so you can see how they look when they are finished and lit up.


Please let me know if you have a go at making your own dream jars, I'd love to hear how you got on!  Also if you are on Facebook or Twitter tell us how you will be celebrating Roald Dahl day, you can find Artline here and here and I'm @Shes_Eclectic.

Thanks for stopping by!

Monday, 16 July 2018

Artline Monday - Thank you teacher

It's the final few days of the school year!  Have you sorted out a thank you gift for your little one's teacher yet?  Don't worry if you haven't, I have a quick and simple idea to help you out!

I think most teachers end up leaving school on the last day of term with a lot of flowers and chocolate so I wanted to do something a bit different.   I found these sweet little mini mason jars in Home Bargains but looking online they have something similar in Hobbycraft, Wilkinson, Amazon and Ikea too so you should be able to get hold of some. 


Mason jars, tags and Artline pens

I wanted to fill the jars with sweets, for the first one I used mints and humbugs and matched these with a kraft card gift tag and brown and white twine.

This colour combination is great for male teachers!

I attached the twine to the tag and then used my white pastel calligraphy pen to write Thank you on the front of it.  I really like how the white ink pops against the kraft colour!  On the reverse side of the tag you can write your message to the teacher and your child's name.

Writing the tag

The last step was to tie the gift tag around the top of the jar and then screw the lid on.

Attaching the tag

Of course you could use full size mason jars for this but I think the mini ones look really cute and after the sweets have all been eaten the recipient can use them for stationery storage like paper clips and rubber bands or as a tealight or votive candle holder.  Or just refill them with more treats!

Finished gift

For the second jar I went with a red, white, pink and silver theme.  I used a metallic red poster marker to write on the gift tag and added some pink and white twine to attach it to the jar.

Filling in the tag

I wanted to make this jar different to the first one so I used a silver Artline 900XF pen to write Mrs R on the front of the jar (one of my daughter's teachers) and then tied the tag to it.

Personalising the jar with the teacher's initials

Here is the finished jar!

Personalised thank you gift

I used a chalkboard sticker for the last jar and one of my Artline chalk markers.  It was easier for me to write on the sticker before I put it on the jar but as the chalk markers are erasable I could have wiped out any mistakes and tried again if I hadn't.

The chalk markers are nice and bold

I filled this jar with some purple and red sweets....

Ready to add the treats

... and then tied a piece of purple and white twine around the top of the jar into a bow.

Finished jar

These gifts are so easy to make but I think they look really cute and it's always nice to receive a handmade present!

My thank you gifts

Which of these is your favourite design?  I can't decide, I hope my daughter's teachers and classroom assistant like them on Friday!