Monday, 8 April 2019

Artline Monday - Easter eggs

Decorating eggs for Easter has become a bit of a tradition in our house over the years so I always look forward to getting creative with my girls and our stash of Artline pens when the holiday rolls around.


Our eggs and supplies

We started off with a basket of cooled hard boiled eggs and a selection of Artline products.

The first egg we made is.... can you guess?  It's Mike Wazowski from Monsters inc!  My youngest daughter loves this guy, he always makes her laugh when we watch the Monsters films!

Monsters inc egg

She painted the whole egg green with a poster marker and then left it to dry for about 5 minutes.  I helped her draw the eye with a white paint marker, a blue Supreme permanent marker and a black Artline 853 OHP pen and then she added the smile and popped him back into the egg carton to finish drying.

Kawaii ice cream egg

My eldest daughter made this sweet kawaii style ice cream egg.  She drew a waffle cone pattern on the bottom half of the egg using an orange Artline 853 OHP pen and then coloured in the top half of the egg with a purple chalk marker to look like a scoop of ice cream.  Once the chalk was dry she added eyes, rosy cheeks and smile using a white paint marker, another Artline 853 OHP pen in black and a pink Supreme marker.

Ladybird egg

I couldn't resist making a ladybird egg, the design is really easy to do but it looks great.  I painted the egg red with a poster marker and then helped my girls with their eggs while mine dried.  Once it was completely dry I added details like the head, wings and spots using a black water colour marker and a white paint marker for the eyes. 

Minimalist calligraphy eggs

All the other designs are quite colourful and vibrant so I wanted to do something different with the last of our eggs.  I thought it would be nice to do something simple and minimalist so I just used a white paint marker  on these two and wrote "hello" on one egg and "spring" on the other one.  I also added some spots and dots for the finishing touch, I think they would look nice as part of a table centre piece for Easter.

Last year we made chicks, a flower basket and even a unicorn with our eggs, you can see them here if you need more inspiration!  School breaks up on Friday so this is the perfect activity to keep your children busy while they count down the days until they can devour their chocolate eggs!

Thanks for stopping by!

Monday, 1 April 2019

Artline Monday - Spring home & garden organisation

Spring always gives me the motivation to get cracking on things like tidying up the gardens after winter and tackling my house with a big spring clean, it is the perfect time to get back to basics and concentrate on things around your home.  With this in mind I thought I would share a few Artline products in today's post that are really handy to have around the house.

Handy pen's to have in your home

If you love cooking up a storm in the kitchen then the Artline 770 freezer bag marker is the pen for you!  


Perfect for batch cooking

It is perfect for writing on, well freezer bags (of course!), sandwich bags and all kinds of packaging and boxes so whatever you want to mark up and pop into the deep freeze this pen has got you covered. The 770 also writes clearly on greasy surfaces and can withstand sub-zero storage unlike other pens.

When I get the chance I make up big batches of things like chilli and bolognese and then freeze them in smaller portions for when my kids all want something different to eat.  I use the freezer marker to label the bags with what is inside them and the date they were made and frozen.  It kind of makes me feel like a domestic goddess to look in the freezer and see bags of homemade food, even though I am really not one!

Getting the garden ready

If spring makes you want to get outside and enjoy the sunshine then doing some gardening is a good way to pass the time.  Whether you are planting seeds, bulbs, flowers or vegetables the Artline 780 garden marker is the right tool for the job.  It dries instantly and is waterproof and UV fade resistant so whatever the weather this ink can handle it all.  The pen can be used on lots of different surfaces too like plastic, wood, metal, glass and porcelain.

Keep your private information private

Do you receive a lot of junk mail in the post?  I feel like I am forever finding useless brochures and marketing materials being put through my door.  To make matters worse they all seem to have my full name and address on them so I can't just throw them into the recycling bin.  If you're in the same boat then you need one of these Artline secure markers to hide your personal information!  The black ink obscures anything you want to keep private and it is completely opaque once it has dried.  Scribble over the text you want to redact and then the paper can be recycled, problem solved!

Labelling with the Artline 750 Laundry marker

If you have children in school then this Artline 750 laundry marker is a godsend!  If you labelled all your children's uniform, PE kits, swim kits, bags and coats in September with this pen then they should all still be clear and readable, but if your children are anything like mine then they have probably lost or outgrown at least one or two pieces since the start of the school year.  If you have replaced anything grab this pen and write their names and classes etc on the labels and fingers crossed they will make it the end of the school year!

Which of these pens do you think would be the most useful for you?


Monday, 25 March 2019

Artline Monday - Mother's Day cards

It is Mother's Day this Sunday but don't worry if you're not prepared for it yet!  Last week we made a Mother's Day gift and today I'm going to show you a couple of simple but sweet card ideas I found on Pinterest.

Card making supplies

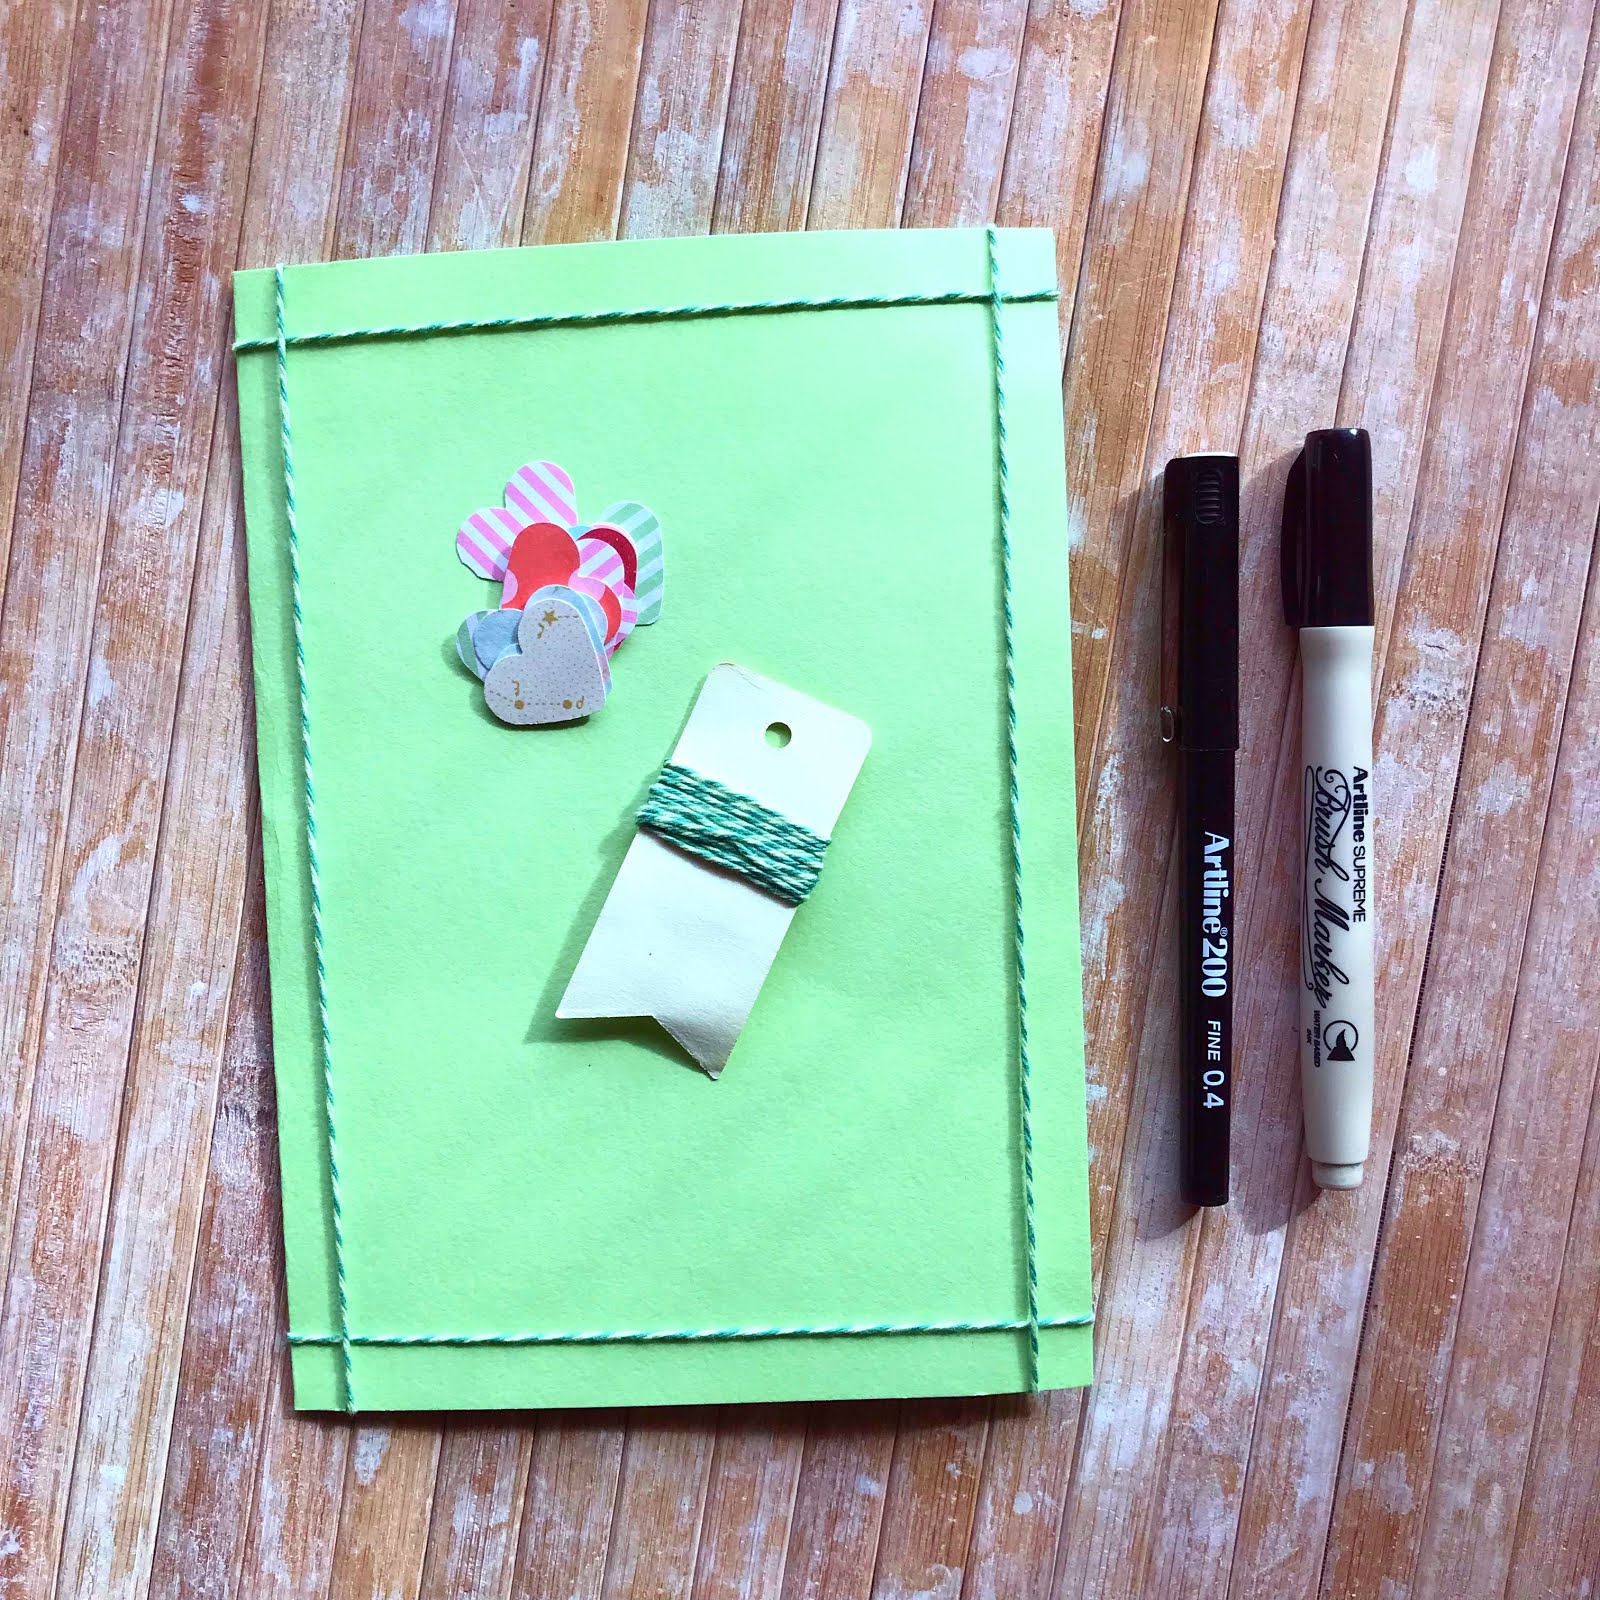
For the first card I folded a piece of A4 card in half and attached some green twine around the edges of the front of it, this gives the card a little bit of texture and makes it look more interesting.  If you don't have any twine then you could use some ribbon or washi tape instead or just skip this step altogether.

Making a basic card shape

I used a punch and some patterned scrap paper to make 15 heart shapes, then I wrote the letters for HAPPY MOTHER'S DAY onto the hearts using my black Supreme brush marker.

Writing my message

Once I had my message I played around with how I wanted to space the hearts out on the card, when I was happy with how they looked I glued them into place.

Drawing the strings

The last step for this card was to turn the hearts into a bunch of balloons by drawing strings to hold them together using an Artline 200 fineliner. 

The finished card

For the second card I used another piece of A4 card folded in half.

Card and Artline pens

Starting in the bottom left hand corner and working my way up towards the top right hand corner I wrote "happy Mother's Day" in cursive with my Artline pens

Happy Mother's Day

Then I added a large 3D butterfly sticker to the end of my message, as if it was the path the butterfly had just flown.  The card looked a little plain so I decided to use another couple of small butterfly stickers on it for some extra decoration.

3D butterfly stickers

I'm happy with how both cards turned out, I think they look cute and I would be happy to receive either of them this weekend!

Two cute and easy to make cards

Of course there is still time for you to pop out and buy your mum a card from the shops but I always think that a handmade card is nicer as it shows you've spent time making something to make them happy.  What do you think?

Thanks for stopping by!