Monday 27 November 2017

Artline Monday - Christmas memory keeping

Can you believe that by the end of the week it will be December?  I don't know about you but I always feel like everything speeds up at this time of year and then suddenly it's January!  This year I've decided to keep a record of December, my youngest won't be little forever and I want to remember these times with her while she still believes in the magic of Christmas.  


Bullet journal style memory keeping

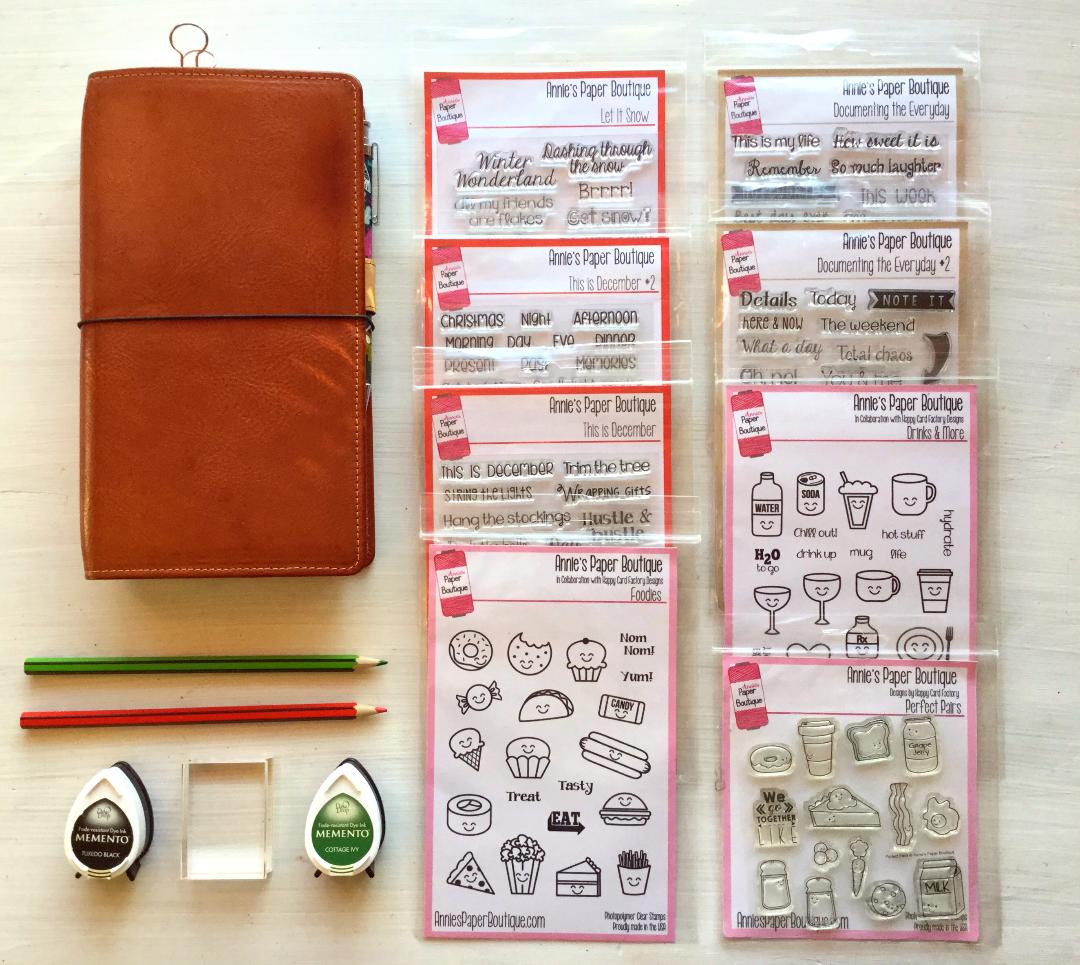
I've have a couple of ways to document the month I want to show you.  The first is my bullet journal layout.  You might remember my previous bullet journal post where I showed you how to get started and set up your journal, well I have a new journal which I am going to use solely for Christmas.  It is bright red and I thought it would be perfect for keeping track of our festive period over the years and it would become a nice keepsake for us to look back on.


The first spread covers the first week of December.  I used some stickers and washi tape for decoration and then gave myself sections to record things that happen that week using my Artline brush markers, fineliners and permanent markers.  The headings are Made me smile, Noteworthy, Favourite memory, Traditions, Holiday deliciousness and Elf mischief.  I feel the need to explain the elf one, we have an elf who visits us every December and he gets up to all sorts of things while he is here like covering our tree in toilet paper or filling the children's shoes with sweets.  Anyway I would like to record what he gets up to while he is with us, mainly so he doesn't repeat the same tricks each year.

I have also created a space for me to glue in a photograph for this week.  I usually take a lot of pics during December so I want to get a few of the best ones printed and keep them here inside my journal instead of left on my phone or camera.

More bullet journal ideas


For the second week I used more washi tape and stickers but I also used a couple of my Artline stamps as they matched my gold theme.  The gold star xclamations stamp is really easy to use because it is self inking so you just need to put it on the paper and press the top down.  The Merry Christmas stamp is the same design as well so I don't have to mess around with ink pads and stamp blocks to use these images.  For this week's headings I changed things up so I won't be writing about the same things over and over, the only sections I have kept the same are for the photograph and the elf's activities.  I used my yellow Artline brush marker and fineliner for the headings and then my gold Supreme metallic marker for some extra decoration.

I will be setting up the final three weeks of December over the next couple of days, if you have any suggestions for me please let me know!
  
December spread in my art journal

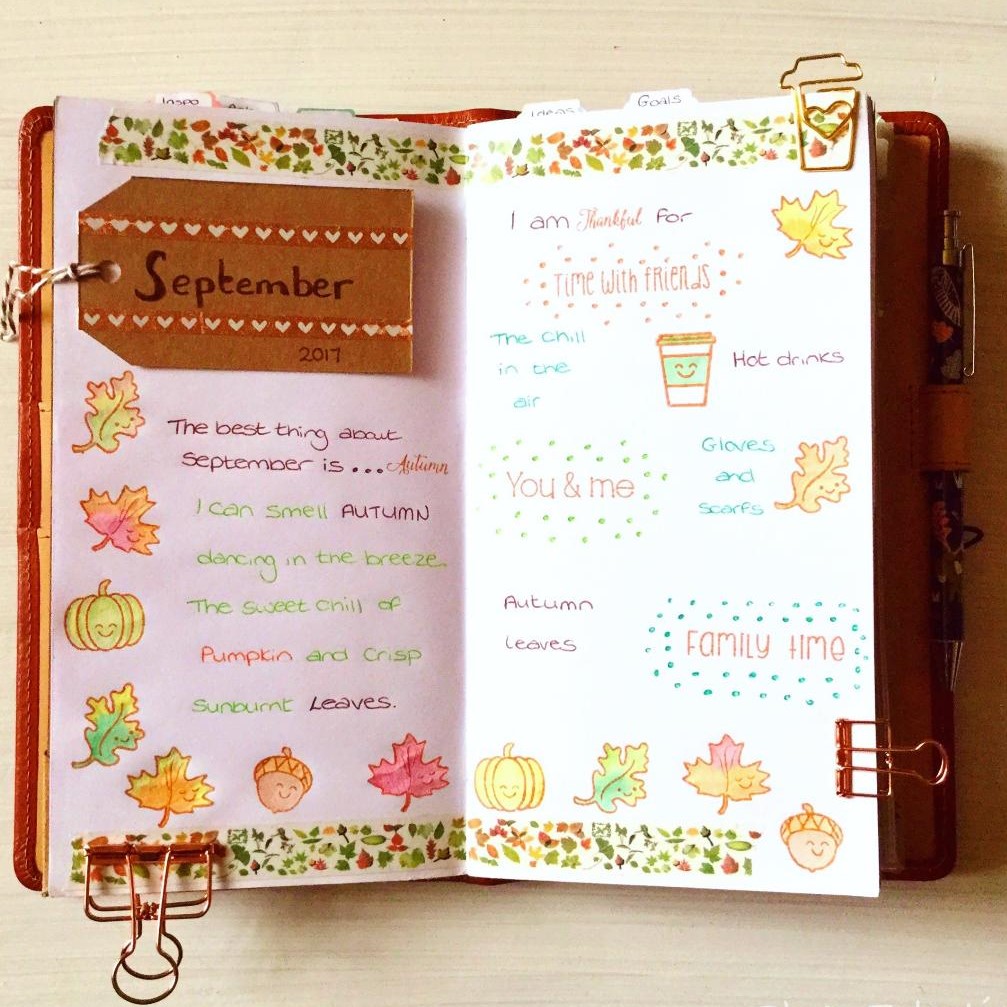
If bullet journalling isn't your thing you might prefer my art journal spread.  I have used two pages to record some of my favourite things about December and what I am looking forward to.  I love watching Christmas films, to be honest my girls and I have been watching them since the start of November but we have saved the best ones for December and I have a list of them on the first page.  On the second page I have a few different sections, the list on the journal tag is the things I need to do but they are also things I love to do too!  Then there are a few of my favourite festive food and drinks and a reminder to leave out some cookies and milk for Father Christmas and a carrot for Rudolph.  Lastly there is a space for a photo of my children that I am going to take on Christmas Eve when they are in their new pjs and excited about the big day!

Will you be keeping a record of your December?


Friday 24 November 2017

Planner Friday - Novemeber

I'm getting over excited about Christmas today on the Trendy Twine blog, pop over now to see my latest Planner Friday post....

Yes!  We are so close to December I can almost taste it!  I can't wait for the festive period to start so I thought for this month's Planner Friday I would show you my Christmas themed spread in my Travellers Notebook.


My Christmas spread


I wanted to record some of my favourite things about Christmas and list the things I am looking forward to doing next month so I got to work with my Annie's Paper Boutique stamps!  I absolutely LOVE my Christmas stamp sets, they are full of fun and quirky quotes that are perfect for journalling, card making, gift tags and lots more!  

On the first page I have used the Christmas Movies stamp from the This is December set for the list of films I want to watch over the holidays and I added a couple of stamps from the Foodies set as there will definitely be snacks involved while I watch them!  Frozen is a family favourite in this house so the Do you want to build a snowman? stamp from the Let It Snow set just had to make an appearance too!

On the second page I have a list of things I need to do but they are also things I enjoy.  I can't wait to put up the tree, cover the house in decorations, hit the shops to buy gifts and treats and then wrap it all up.  I also recorded some of my favourite things to drink and eat using the This Is December #2 and Drinks & More stamp sets and I have left myself a space to add a photo of my children I am going to take on Christmas Eve while they are waiting for Santa to arrive.

The last thing I did was to give myself a reminder that I need to put out some cookies and milk for Father Christmas and a carrot for Rudolph and I used the image stamps from my Perfect Pairs set for this.  I think they look super cute!


Stamp Block


You can read the rest of my post here.

Thanks for stopping by!


Monday 20 November 2017

Artline Monday - Ways to relax

So it's the middle of November and my Christmas plans are in full swing now but I still find myself stressing over getting everything ready in time, I guess I'm just a worrier!  I thought I would share with you some ways I relax when I feel a little frazzled in case you find yourself feeling more frustrated than festive over the next few weeks!

Ways to relax

Colouring books

I love how colouring in has become a big thing for adults now, there are so many different types of books to choose from so finding one to suit your style is easy.  Taking ten or twenty minutes out of my day to work on one of my pages relaxes me quickly, colouring in such small pieces with my fineliners takes my mind off everything but staying within the lines! 

Mindful colouring book & Artline fineliners

Baths 

A long hot soak in the bath or a refreshing shower washes away worries!  Take as long as you need until you feel ready to face the day again with a smile.

Journalling

Putting things down on paper is a great way to clear your mind.  Keeping a journal or diary can feel quite therapeutic as you have to spend some time reflecting on your day.  This gives you a chance to record your highs and lows and helps you address anything that is niggling away at you.


My journal

Walking

Go outside and get some fresh air, stretch your legs, wrap up warm and enjoy the chilly weather.  I love going for a walk in the evening when it is just getting dark and people have turned their Christmas lights on, it makes me feel excited about the holidays and takes my mind off my to do lists.

Art journalling

I'm not a great artist but I do enjoy drawing, doodling and painting and the best thing about keeping an art journal is there are no rules about how to do it.  I fill my journal with all kinds of things, memories about holidays and celebrations, things I want to remember and I usually do a spread dedicated to what I am looking forward to each month.  If you decide you want to start an art journal all you need is a notebook and a selection of pens and pencils while you work out your style of journalling.  Once you have found your groove you can try adding other materials into the mix like paints, collage and different kinds of paper and markers, the possibilities are endless.  Have fun!


My ode to Autumn in my art journal

What do you do to help you relax when you are feeling stressed?  I'd love to know!


Monday 13 November 2017

Artline Monday - World Kindness Day

Today is World Kindness Day, how lovely is that?  It is a special day dedicated to celebrating and committing acts of kindness so I thought it would be nice to join in and spread a little love around too. 

I have a friend who is a real sweetheart, she is the nicest, kindest person and I haven't spoken to her in a little while as we have both been busy.  I thought today would be the perfect time to reconnect with her so I have made her a card to say thank you for being such a good friend.


Kraft cards, watercolour papers & Artline pens

I started by covering the kraft card with some pretty paper and taping down the edges with washi tape to give it a nice finish.

Clean edges

Then I used one of my Artline Stix brush markers for the quote, I love how these pens write!

Artline Stix brush marker

I glued my quote onto the card but then decided I wasn't happy with how the word "is" had turned out so I covered it up using some paper hearts and changed what I was going to write on the card.  I used Artline 200 fineliners for the text and now it reads "Friends make life beautiful, thank you". 

The finished card

I have already popped this card into the post so I am hoping it will arrive today *fingers crossed* and be a nice surprise!

Will you be doing something to celebrate World Kindness Day?  


Monday 6 November 2017

Artline Monday - Rock painting

For as long as I can remember my children have collected rocks and pebbles when we have been on holiday or days out.  They bring them home and then they get left dotted around their room or on their windowsills, gathering dust and being forgotten about until I try to move them outside!  To be honest my eldest two aren't too fussed about their collection anymore but my six year old still guards it dearly from me in case I try to cast them out into the cold, wet garden so when I came across the idea of rock painting I thought it would be fun to try and would put their collection to good use.

I was only allowed to take eight stones to paint, that was the deal with my youngest and she got to pick which ones I could have.  


Supplies

If you want to give it a go yourself you will need some rocks or pebbles, paints (I used watercolours mixed thickly and some Artline poster markers) and for writing on the rocks or adding details these Artline 853 Overhead Projection Markers.  

The 853 markers have been declared the best for rock painting by a group in New Zealand according to this blog post as the ink doesn't blur when writing on paint and it doesn't fade over time.

Painted pebble and Artline 853 OHP markers

We started by painting the rocks different colours.  You need to use the lightest colours first and then the darker shades afterwards.  For the stone above I used orange, red and brown paint as I was trying to make it look like the colour of an autumn leaf.


Autumn, the year's last, loveliest smile!

Once the paint is 100% dry you can write or draw on top of it using the 853 markers.  As I went with autumn colours on my rock I doodled some leaves and added an autumn quote to go with it.  It says "Autumn, the year's last, loveliest smile!" which I think is really nice.


Hello sunshine and Just keep swimming

The yellow pebble was painted with an Artline low corrosion paint marker which has given it a lovely shiny finish.  The yellow was so sunny and bright I just had to write "Hello sunshine" on it!


Finished rock

My six year old is a fan of Finding Nemo and Dory so she painted her rock with sea green shades, I drew her a fish and wrote "Just keep swimming" on it.  We added some air bubbles using a silver Artline 900XF pen and coloured in the fish using blue and green 853 markers.  We wanted it to stand out a bit more though so I used my Artline 444XF paint marker in white to brighten it up.

Be kind

My eldest daughter used a blue poster marker to paint this stone and when it was dry I wrote "Be kind" on it for her and she added some polka dots and hearts to it using a 0.8mm tipped gold metallic pen. 

Love

This was our simplest design, my eldest daughter thought the pebble was shaped like a heart so she drew one on it and coloured it in using the red 853 marker.  I wrote "Love" for her underneath the heart and then it was finished!


Sweet strawberry rock

This was our first time rock painting and there was some trial and error involved in it.  I painted this little stone pink using a poster marker but I didn't wait for it to dry properly so when I tried to write on it with the 853 marker it didn't work.  I set the stone aside for an extra hour and when it was 100% dry the paint was much easier to write on!

The largest rock my six year old gave me had a kind of wave pattern running through it so I used this to paint a sea scene.  I left some of the rock showing to create a cliff and painted the sea and sky around it. Once the blues were dry I added white clouds and waves and when they dried I used my blue and brown 853 markers to add some details to the cliff face and the sea.  It's not the best seascape I've ever painted but I am new to working on rocks and might need some more practise!

Our rocks and the Artline 853 markers

The very last step you need to do when your rocks are dry is to coat them with clear varnish or nail polish.  This will seal your works of art and protect them from the elements if you want to put them outside.

I have heard of a few groups around the world who paint rocks and then leave them for people to find like a little surprise gift.  I think that is such a sweet idea!  How nice would it be to find a pebble with a picture or message on it when you are walking through a park or shopping in town?  I would love to leave these rocks somewhere for people to find but they are going back into the bedroom now to take pride of place on the windowsill.  Maybe I need to find my own stones and make some more to hide in my home town!

My girls have asked me if we can paint some more of their collect next weekend so I guess this craft was a big hit!  Will you be giving it a go?