Monday 29 October 2018

Artline Monday - Christmas competitions

Okay, so I know Halloween is only a couple of days away and we are all feeling spooky and scary but Christmas is never too far from my mind at this time of year so when I heard Artline were running a couple of Christmas design competitions I got REALLY excited!  


Entry forms

If your children love to draw, paint and be creative then this will keep them entertained for a little while over half term and they could win a set of Artline and Xstamper goodies!  

For children 9 and under Artline are looking for a fun and festive design for their official Christmas eCard and for kids 10 and over they want a new holiday header image for their social media channels.  To take part you just need to print off the entry forms, you can find them both here and then let them get cracking with their best Xmas drawings!  There's no need to add any words to the designs, Artline will pop their own on top once the winners have been chosen and there will be prizes for the top three designs plus some runners up prizes too!  


Keeping little hands busy

There are a couple of ways you can submit your child's entry, either scan or photograph their form/design and email it to dan@smallmanmedia.com or you could share their drawing on social media, tag @ArtlineOfficial and use the hashtag #ArtlineXmas, easy peasy!


It's beginning to look a lot like Christmas...

The closing date for both competitions has been extended to Wednesday 5th December 2018 and you can find the full terms and conditions here!

Good luck everyone!


Tuesday 23 October 2018

Coming full circle - my 500th post & back in an A5 ringed planner

I can't believe this is my 500th blog post!  To mark the occasion I thought it would be a good time to reflect back a little and show you my brand new planner!


A5 Kikki K

Back in 2013 I brought a pink A5 Apex Filofax to help me get organised and as soon as I started using it I loved it.  I felt like I was finally on top of things again and it really helped me feel like I had some control over my life.  

My first ringed planner

I enjoyed using the Apex for quite a while before I decided to move onto a personal size planner which I liked because it was more portable and would fit easily in my bag without weighing it down too much. 


Over the last five and half years I have tried lots of different sizes and types of planners which I have written about and shared with you (you can check out my collection here if you like) but recently I have let my planning slip.  


Our new pup!

We have added a new puppy to our family and I have had less and less time to get my planner, supplies and stamps out so I have been relying on the calendar and notebook on my phone instead.  I know, it's shocking!  

Anyway, an email dropped into my inbox from Kikki K a few weeks ago showing off their newest planner collection called Sweet and I was smitten!  I couldn't justify spending money on another planner so I just lusted from a far and that was that..... until I got a second email some time later advertising a special offer, spend £60 and get 30% off.  It's my birthday next month and it was a really good deal so I thought I'd buy my present early (don't tell me off, I'm usually quite good!).  I added the A5 planner to my cart and some matching stickers, post its, magnetic page markers and a pen and got my discount and free shipping!  Here it is!


A5 Sweet Kikki K planner

Before I checked out I noticed that this design also came in personal size but I thought A5 would work better for me right now.  I'll be doing a lot of planning with this balanced on my knees or on my lap and I wanted the extra room to work with.  I don't take a bag out with me very often at the moment either so I wasn't bothered about the size and weight as I won't be carrying this one around.  Let me show you the inside....

Card slots, notepad, larger sections & zipped pocket

Every day is a little ray of sunshine- Monthly divider

I love all of the dividers, the illustrations are so cute!

Some pretty stickers to get you started

Undated monthly pages - 18 months

Collect moments - Weekly divider

Weekly pages

To Do divider

To do pages

The next four divider tabs were left blank so you can label them yourself, either with the stickers provided or using a pen.  I chose Journaling, Inspiration, To Action and Goals for mine.

Personalise your dividers again & again

Journaling

Plain paper to work with

Inspiration - I love this quote!

To Action - making plans!

Goals - write them down and make them real

There's a gorgeous notepad inside the back cover too

Everything looks so adorable!

Back cover

I can't wait to get started planning properly again!  I think to begin with I'll just be using my pen and a few stickers for my everyday plans and then break out my stamps and ink for Planner Friday posts until I either have more time or I just feel the need to use them every week.  

Oh and here's to the next 500 posts, thank you for being here with me!

Amanda


Monday 22 October 2018

Artline Monday - No carve pumpkins

One of my favourite Halloween traditions is making Jack o'lanterns with my kids, we try to create different designs each year so I usually hit Pinterest to look for inspiration.  This year I came across some lovely no carve pumpkins so I thought I'd have a go at making a couple.

Pumpkins & Artline pens

For the first pumpkin I wanted to do something a bit girly so I started by painting half of it metallic pink with my Artline poster marker and the other half white.

Metallic pink

White

It only took one coat of paint to cover up the orange skin and the pink colour looks so pretty!

Painted pumpkin, look at that shine!

Once the paint was dry I added a big squirt of gold glitter glue around the top of the pumpkin and then used a brush to spread the glitter around.  The last step was to add some gold and bronze confetti to the top half of the pumpkin.  I really like how it turned out!

Poster markers, confetti & glitter glue

According to my daughter the second pumpkin had to be more Halloweenie (that's a word, right?) so I got out my Artline 900XF silver pen and started drawing a spooky spiderweb.

Metallic silver pen

I also coloured in the pumpkin stalk with a black Artline 70 marker to make it look like either a fly or a baby spider in the centre of the web.

Colouring in the stalk

Drawing the web

I drew a large spider sitting in the web and then glued on some googly eyes.

Adding the spider

Here is the finished pumpkin!

Halloween pumpkin

The nice thing about no carve pumpkins is that they still look great during the day whereas the carved ones look best lit up in the dark and they will last a while longer too.  

On the doorstep

If you want to make some traditional Jack o'lanterns then take a look at the ones we made last year for some ideas.  The haunted house one is my favourite! 

Last year's pumpkins

Thanks for stopping by!


Monday 15 October 2018

Artline Monday - More Halloween fun

So we are still getting ready for Halloween in our house, we really like to go all out with lots of decorations, spooky themed snacks and family friendly scary movies, half term is practically a week long celebration of everything creepy and fun!  I always decorate our front door too so people know it's okay to come and trick or treat on the 31st October, so for today's post I am going to show you how I do it using my Artline glass and chalk markers.

The first thing I wanted to do was make a chalkboard sign to hang outside, I brought a cheep one from Home Bargains and got a bag of googly eyes too. 

Supplies for a spooky chalkboard sign

I painted the wooden frame with a red poster marker, it only took me a few minutes using the 12mm sponge tip and it dried really quickly. 

Painted frame

Then I glued some of the googly eyes to the frame.


Googly eyes

I used my white chalk marker to write "Tricks" and "Treats" on the board....


Writing the sign

... and then used my purple chalk marker to write "no" and "just"...


Finishing the quote

... the last steps were to add some cobwebs to the corners of the chalkboard...

Drawing some cobwebs

.... and then a loop of twine so I can hang the sign up!


My finished sign

Outside I got to work on my door using the glass and chalk markers and a few window stickers and chalkboard labels.

Both the glass and chalk markers work well on glass so they are great for drawing on your windows.  They wipe away easily with a damp cloth too.

Adding some grass with a glass marker

Drawing a pair of eyes on my letterbox

Colouring in the whites of the eyes

Boo!

I didn't want to use the markers on my UPVC door so I stuck a few chalkboard label stickers onto it instead and then wrote and drew on those with the chalk maker.  I can peel them off after Halloween and throw them away without worrying they might damage my door.

Close up of my window decorations

I have a couple of stickers on the glass of my door that say no leaflets and no door to door sales so I covered these with some black tissue paper and used an oval chalkboard sticker to make a cute little spider, adding eyes, legs and a web with my chalk markers.  I also drew a ghost and wrote "Hide" and "Run away" on the glass before adding a few more decorative stickers to finish the look.  

All set for Halloween

I am quite pleased with how the front looks now, but if I change my mind it will be easy to wipe it all away and start again!

What do you think? 


Monday 8 October 2018

Artline Monday - Halloween decorations

Halloween and half term are fast approaching so for today's post I am going to show you how to make some spooky decorations to keep little hands busy during the school break.  Everywhere we go my youngest has been collecting conkers and bringing piles of them home but she didn't know what to do with them so I thought it would be fun to use some in a crafting session this weekend.

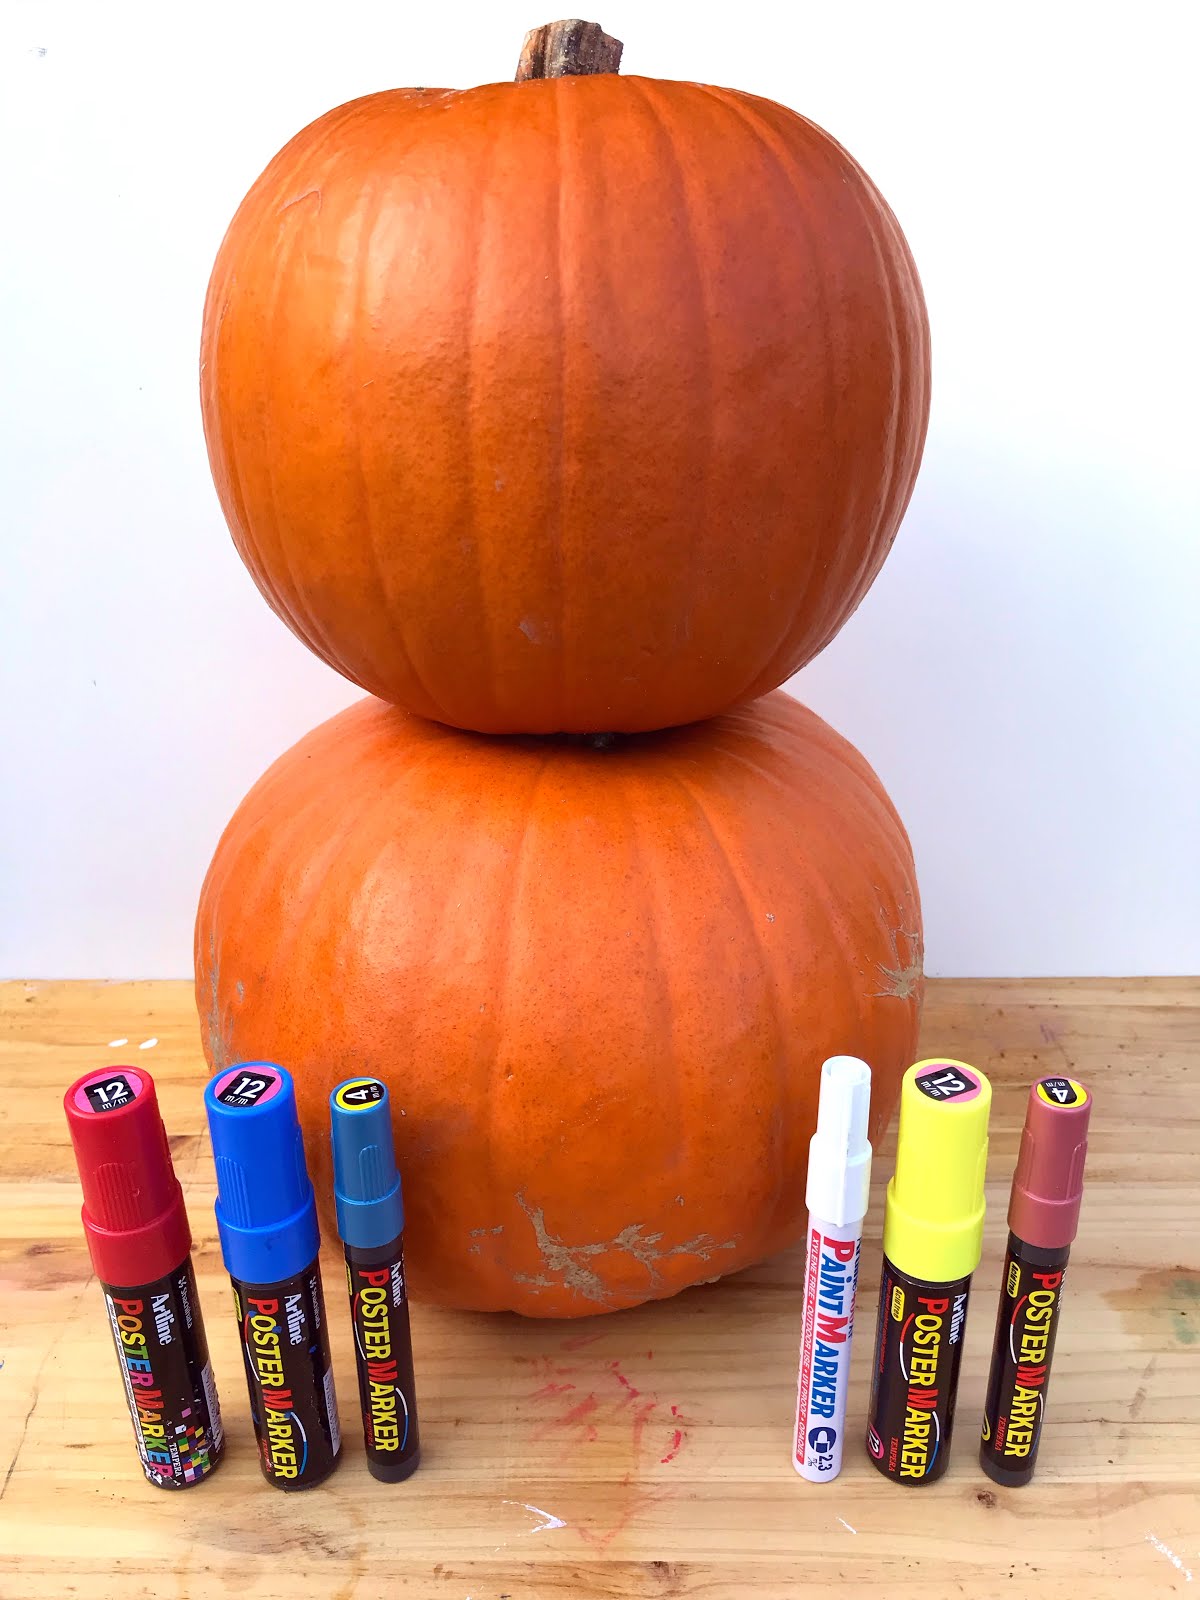
Conkers, card, twine & Artline pens

For this craft you will need:

  • Conkers
  • Card
  • Twine or string 
  • Artline poster and paint markers
  • A pen or pencil
  • Scissors 
  • PVA glue

We turned our conkers into spiders, ghosts, a pumpkin and a vampire bat!

For the bat I folded our card in half and drew the shape of one wing, the body of the bat would be along the folded edge so after you cut it out you will be left with two wings joined together in the middle.

Drawing the bat's wing

Cut out

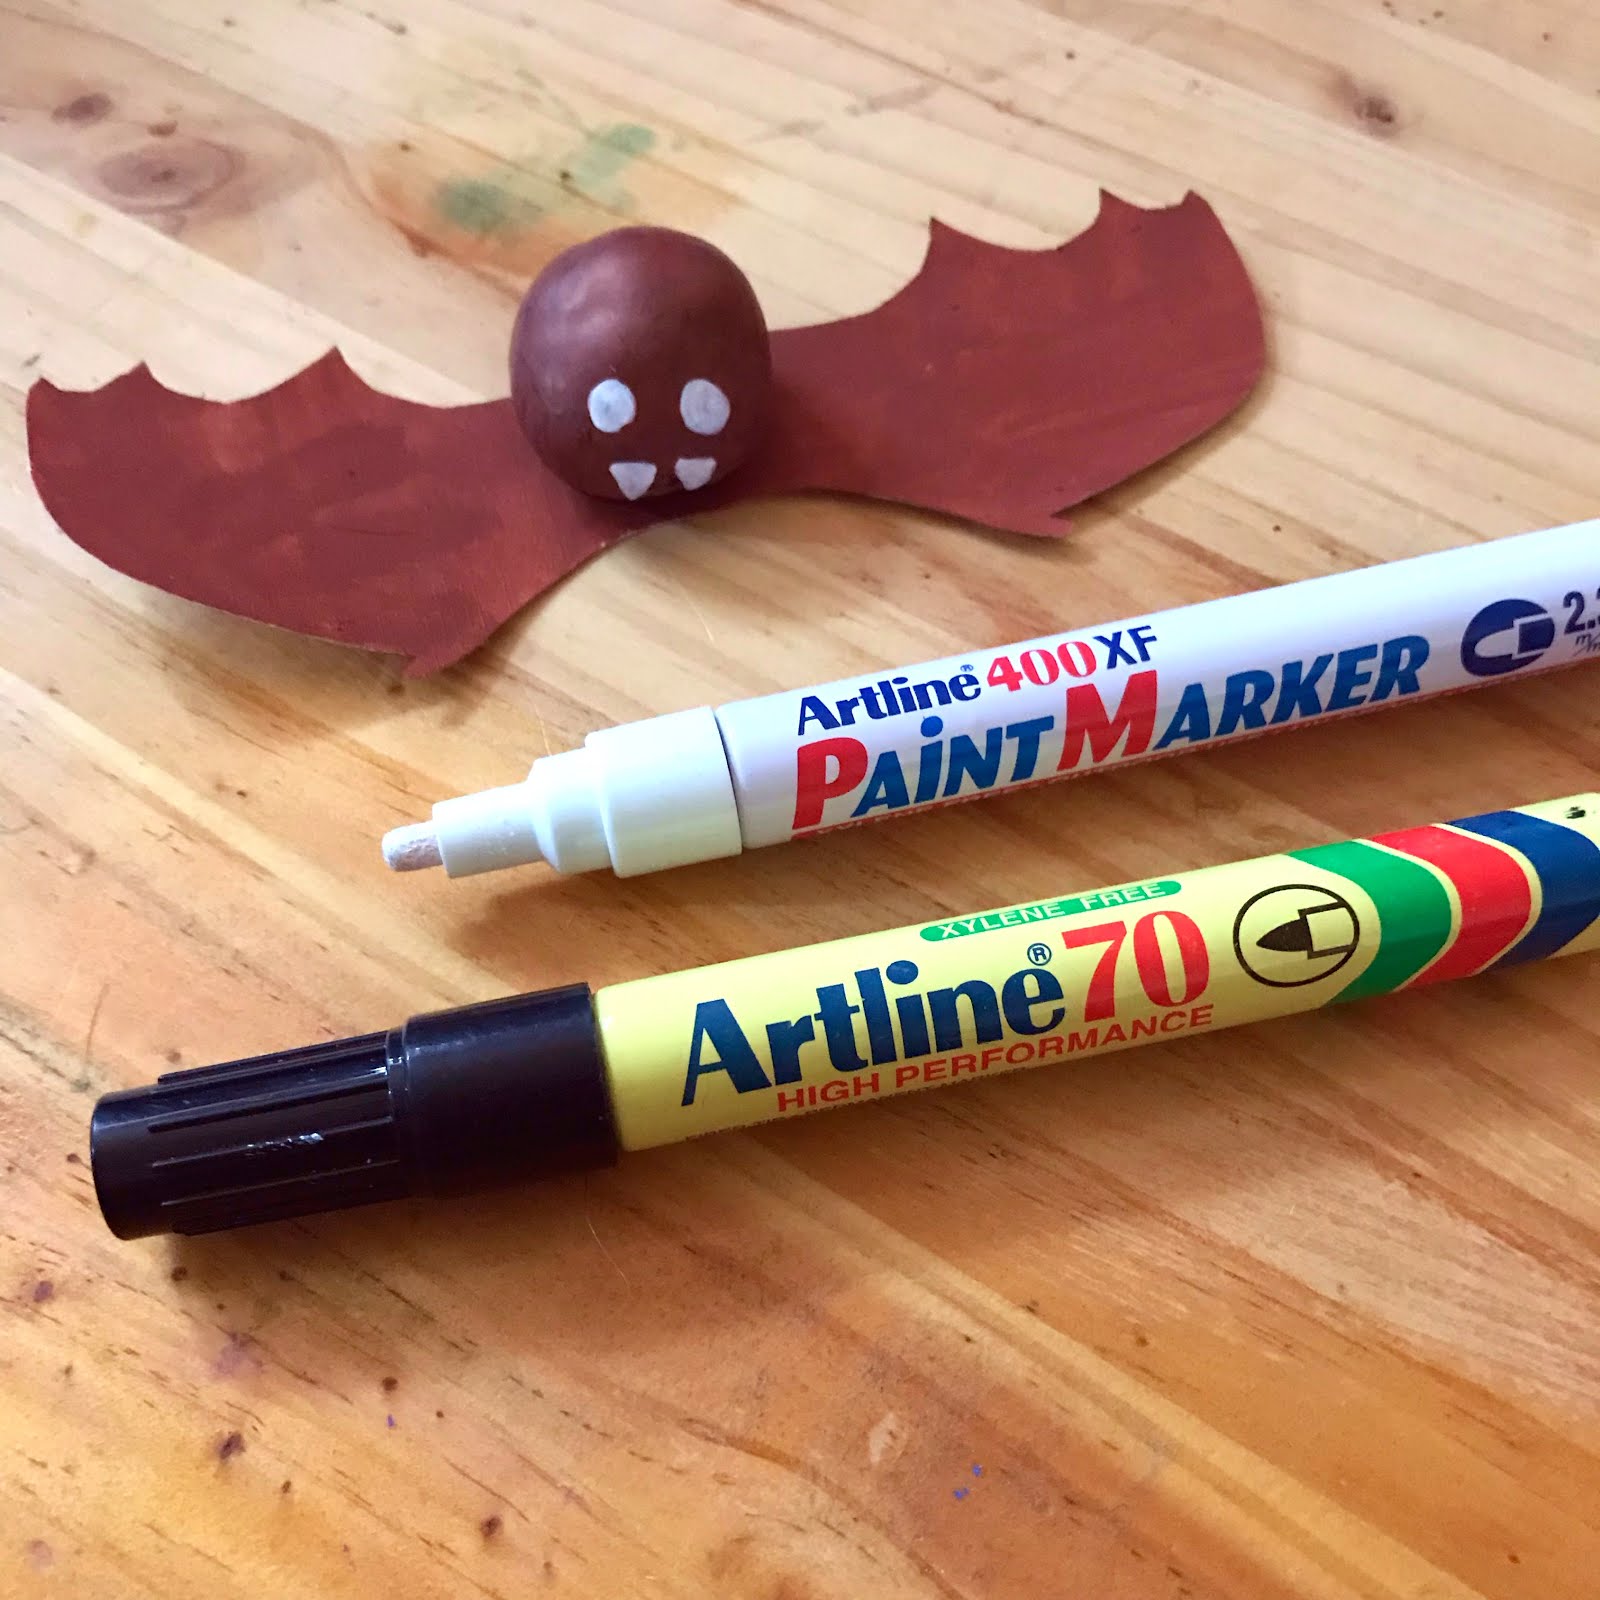
Painting the conker & wings with a poster marker

Adding eyes & vampire teeth once the paint had dried

After the eyes and teeth had dried we used a black Artline 70 marker to add the finishing touches, pupils and a mouth to our bat and then stuck the conker to the wings using PVA glue.

For the spiders we painted a couple of conkers with green and red poster markers and cut out two circles of white card.  

Painting the conker red

We drew eight legs on each card, added faces and decoration to the bodies and then glued the conkers to the middle of the cards.

Next we made some ghosts.  I drew a couple of basic ghost shapes onto the card, cut them out and then painted one blue, we left the second one white as that is a more traditional ghost colour.  Then it was time to paint the conkers, some of the shinier ones took a couple of coats to cover them completely but the paint dries quickly.

Drawing a ghost shape

Painting the conker white 

Painting the ghost shape & conker blue

We drew faces on the ghosts with the Artline 70 pen and paint marker and then moved on to the pumpkin.

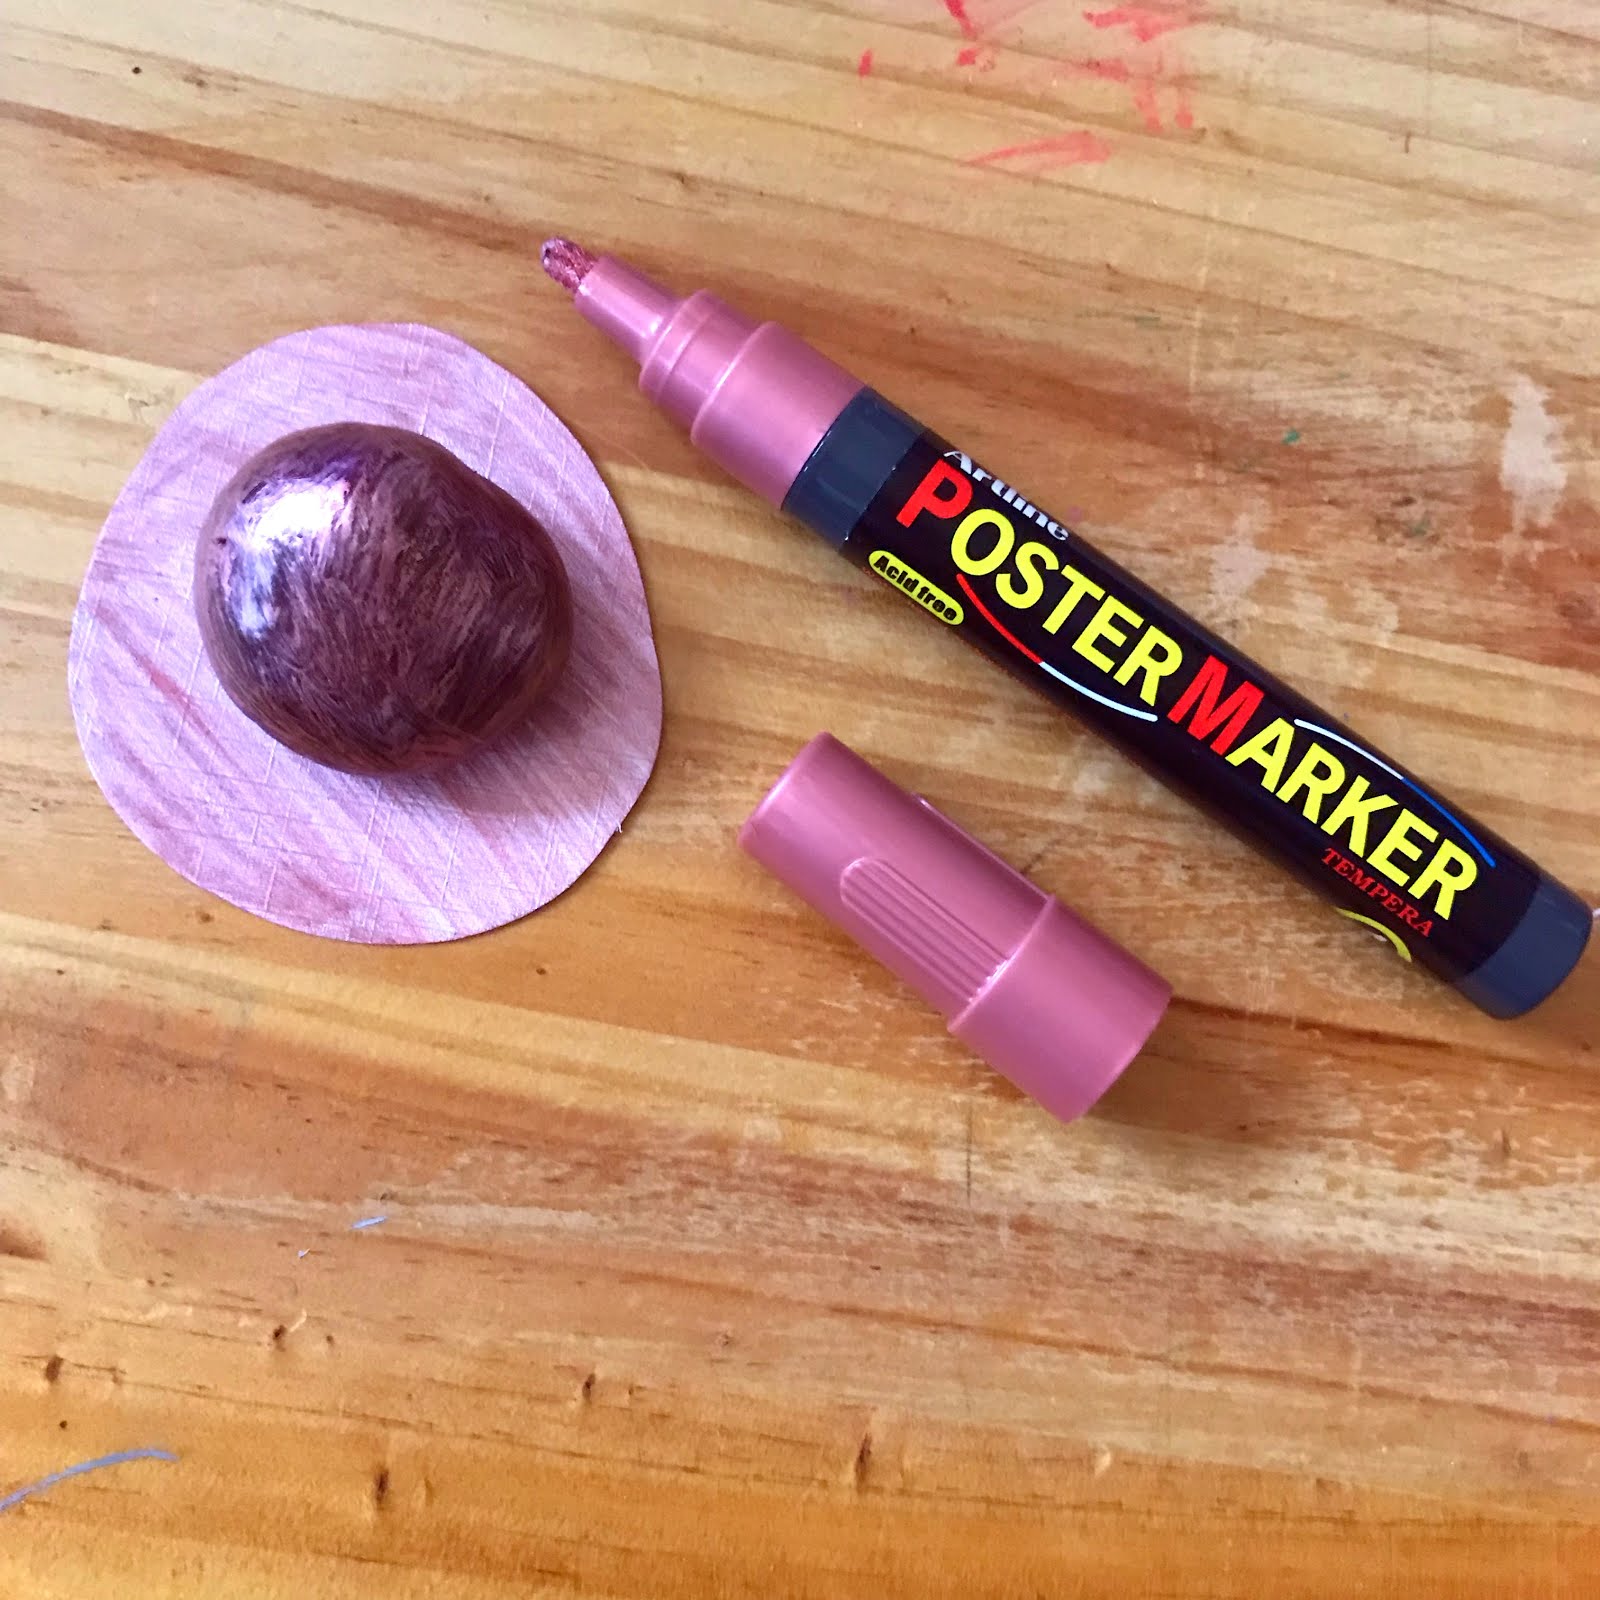
This one is a little bit Pinterest inspired as we made it metallic pink instead of orange! 

Painting the card and conker metallic pink

Adding a Jack o'lantern face & gluing the conker to the card

Once we had made all our creations I glued some loops of twine onto the back of the card on each one so we could hang them up.

Our spooky decorations!

I threaded the decorations to a longer piece of twine to make some scary bunting, perfect for a Halloween party!

Scary bunting!

If you want to try some more Halloween crafts then check out my creepy candle jars and ideas for pumpkins too!