Showing posts with label Nomad. Show all posts

Friday, 26 January 2018

Planner Friday - January

My first Planner Friday post of 2018 is now up on the Trendy Twine blog, please pop over and say hi!

So how is the first month of the year treating you?  I have to admit January is probably my least favourite month but I wanted to start this new year on a positive note so I decided to look for the good and concentrate on things that make me happy.  I wanted to create a spread in my travellers notebook to highlight some things that I enjoy about January so I dug out my Annie's Paper Boutique stamps and got to work!
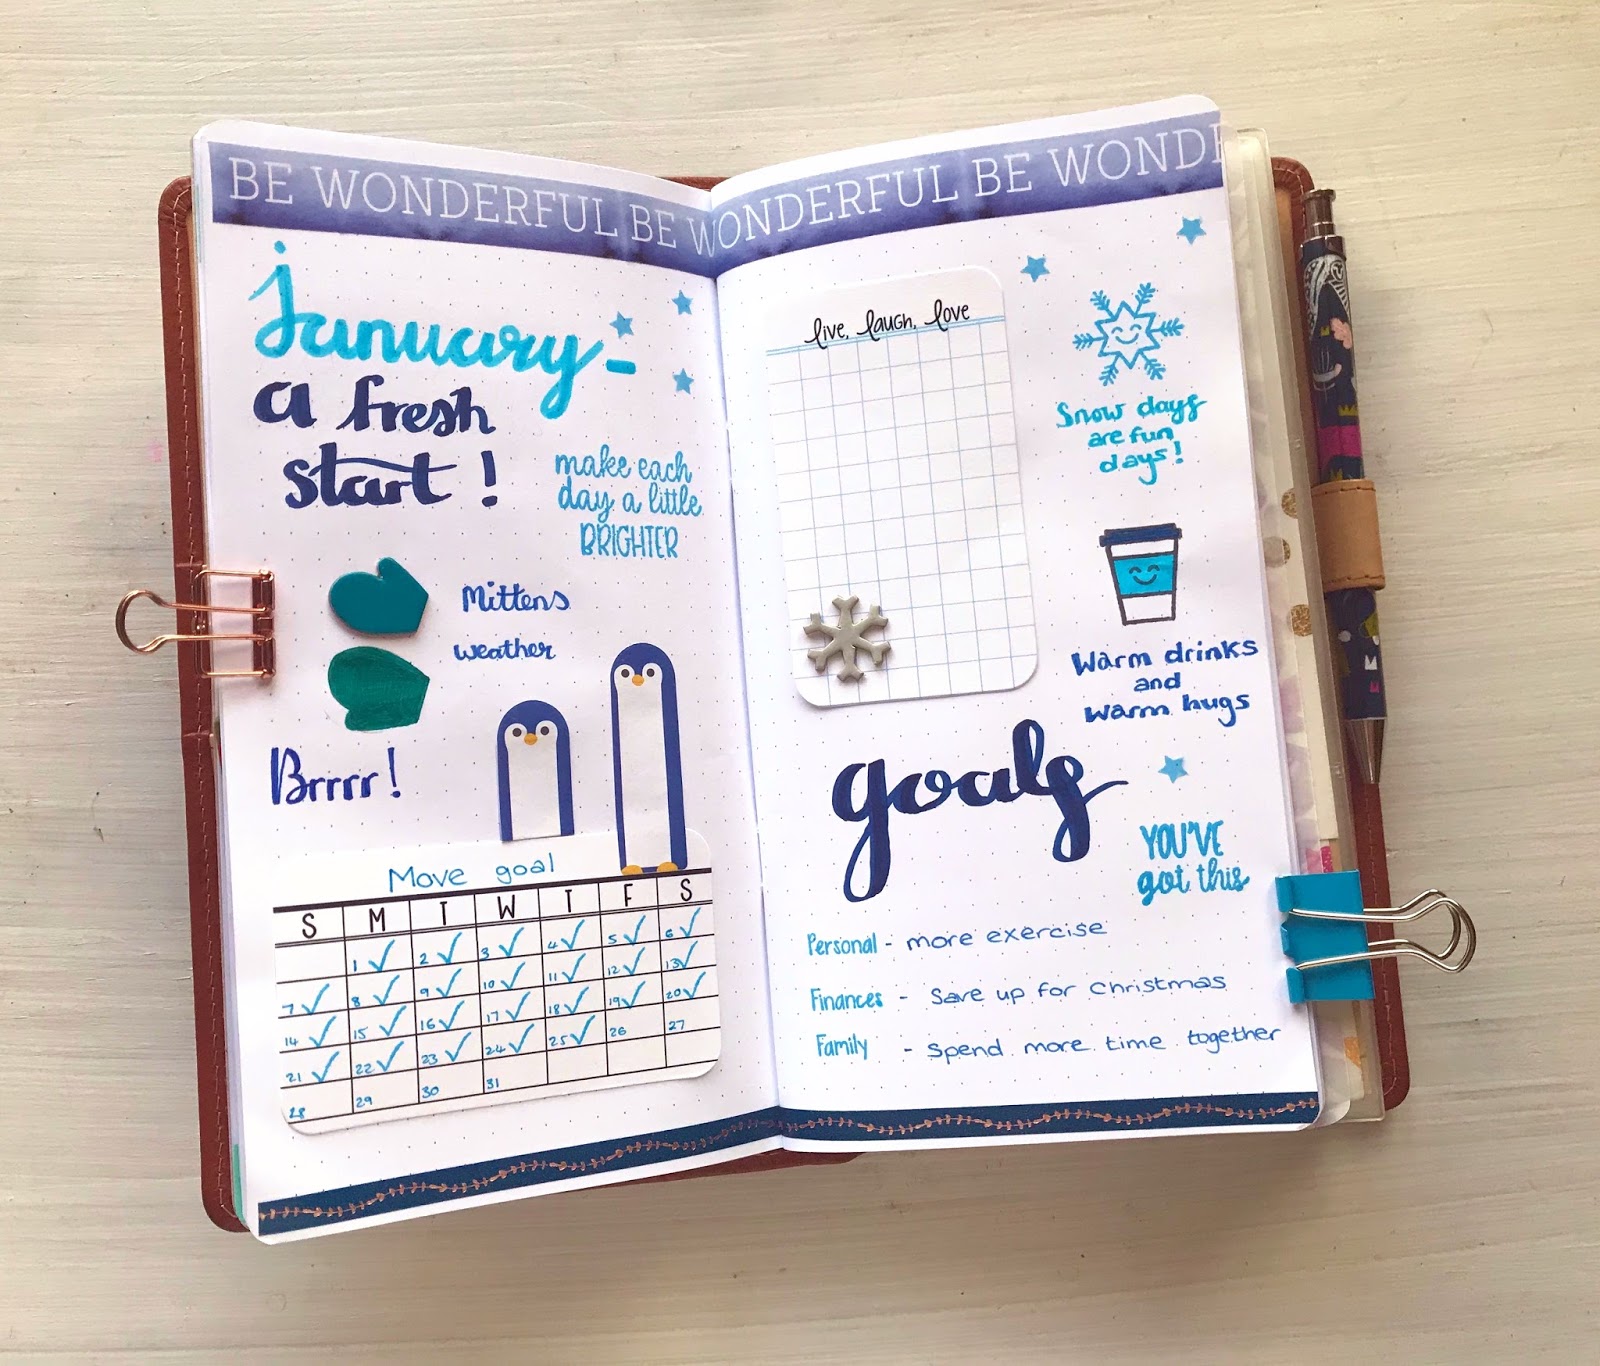

My January spread

The start of a new year always makes me feel like I have been given a blank slate, the past is over and done with and I have a whole new year full of possibilities to look forward too!  The Choose Happy set sums up this feeling perfectly so I used a couple of these stamps to remind me to keep trying to achieve my goals and to make each day a little better than the one before.  

I added a  mini calendar to the spread to keep track of whether I reached my move goal each day (so far so good!) and I am using the little tick stamp from the Check It Off set to mark off the days I complete my goal.  


Products used: Choose happy stamps
Not pictured: Mini calendar cards


Goals and memories

On the second page I used a cute snowflake stamp from the How's the weather? set because I love snow days when you can stay at home in the warm or go out and play if you are feeling brave!  I also used a coffee stamp from the Drinks & more set because there's nothing better than a nice hot drink to warm you on a cold day.

You can read the rest of my post here.

Thanks for stopping by!


Friday, 30 June 2017

Planner Friday - June

My second post of the day, I'm on a roll!  My Planner Friday post is now up on the Trendy Twine blog and it is all about summer.

Yes!  It's finally summer!  I feel like I have been waiting forever for it to arrive!  I was so excited for the beginning of the season I dedicated a whole page to it in my journal this week!

July in my journal

I  wrote myself a list of things I like to do in the summer on a cute tag and popped it in my journal along with some strips of washi tape to brighten things up.  I used the lined stamp from the Check it off set to give me a couple of spaces for some summer quotes and I added a mini calendar card for an overview of July.

I used some of the image stamps from the FoodiesDrinks & more and Perfect pairs sets to show things I enjoy during warm summer days like adding ice cream to desserts, a cold glass of wine and iced drinks with a straw. 

You can read the rest of my post here.

Thanks for stopping by!


Sunday, 16 April 2017

One year in my Van der Spek Nomad TN

I have been using my Van der Spek custom Nomad travellers notebook for a year now so I wanted to give you a little update on how it is ageing.  When I was deciding on which leathers to choose for this cover I went with a couple that I knew would change with use, Janet leather 104 for the outside and undyed 102 on the inside.  I didn't want the cover to stay looking pristine, I wanted it to develop its own character over time and look well used and loved!  

Out and about on my travels

Catching some sun

My TN has some battle scars now, my cat decided to sharpen her claws on it a while ago which left some white marks where a small amount of leather had been scratched off.  I used a brown ballpoint pen to colour over those marks as I thought "freckles" would look nicer!  There is also a mark on the right hand side of the front of the cover, this is where I tried to rub out a small water spot but ended up making it worse.  I don't mind these imperfections though, I never wanted to keep it looking perfect.

Front of the cover with my original sample
of Janet leather 104

Comparing my cover with my original sample of Janet leather 104 I think the TN has developed a slightly richer colour and it definitely has a lovely shine to it now.

The back of the cover with the Janet leather sample

Those marks on the back of the cover are from when I took this photo.  I didn't notice the drops of water on the one piece of wood when I was taking the shot and I'm still not sure why only the one spot was wet!

TN in the wild

The undyed leather on the inside of the cover has not really changed.  In fact the sample piece of leather looks like it has gotten darker even though it has just been sat in a box for the last year.

Undyed leather 102 

I have four notebooks inside the cover now and a zipped pouch, I really love a chunky TN!  I use one for water colours, one for journalling, one for notes and ideas and the fourth is for sketches and drawings.

View from above

Playing with water colours and stamps

Journalling


My year in pixels

The next photo is from when the cover was brand new, as you can see there are no marks or scars on it but it is also a more matt colour with almost no shine to it at all.  If you want to see more photos from when I first received the TN check out this post and you can see how my custom cover was made here.

My TN when it first arrived

Look at the shine the leather has developed over the past year, I can't wait to see how it changes again over the next 12 months!

Love that shine!


Let me know if you have any questions about my TN or Van der Spek below and I'll try and answer them.

Thanks for stopping by!


Thursday, 2 February 2017

My year in pixels - quick journaling in my travellers notebook

I hadn't heard of "My year in pixels" before but I came across the idea in a planner group I am in on Facebook and thought it was great!  Using grid paper you draw yourself a box 12 squares by 31 squares (either vertically or horizontally, whichever you prefer) and then label the 12 squares with the months of the year and the other 31 squares represent the days of the month.

My year in pixels

As some months are less than 31 days long you need to block out the extra days for February, April, June, September and November, I used some skinny washi tape to cover over mine.

You then need to choose some colours to code your moods and feelings and make yourself a key.  I went with purple (joyful, silly, satisfied, content), pink (happy, thankful, motivated, alive), blue (average, okay, uneventful), yellow (lazy, tired, irritable), green (unsure, lonely, sad, insecure) and finally orange (angry, anxious, exhausted).  You can pick as many colours as you like to record your moods, it is up to you and you can decide what you need to label them too.  I just picked ones that would suit me. 


Colour coding

I did label my date boxes but I was unhappy with how they looked so I ended up covering them with some more washi tape.  I have some nice gold date stickers from Filofabulouss which were slightly too big to use here for every day so I used them to mark out the 5th, 10th, 15th, 20th, 25th and 30th instead.  I took the photos for this post before I realised how hard it was to keep track of which day it was without some kind of numbering so you can't see the stickers in them.

I wanted to make these pages fun as I will be looking at them at least once a day so I decorated them with my most colourful tapes and stickers for some added inspiration.  

Mood pixels

Taking a few moments each evening to look back on my day and decide on a colour to represent it is a quick and easy way for me to journal.  I still get the benefit of reflection and a record of my year without the hassle of thinking about what to write and worrying that nothing interesting enough had happened for me to talk about.  I tried daily journaling last year but gave up after a couple of months because I really struggled with things to record and it took up too much time.  I can definitely commit to colouring in one a square a day though so this is a good system for me and if anything really interesting happens then I can record that on another page in my notebook, I am not limited to just this two page spread. 

2017 in my travellers notebook

Had you already heard of my year in pixels?  Do you fancy giving it a go?  You could start it now and record February through to January instead of waiting until next year to begin.  Or do you find it easy to write about your day and have plenty to say?  I might write a second post about this later in the year to let you know how I am getting on with it and show you all my pixels.

Thanks for stopping by!


Friday, 14 October 2016

Planner Friday - Halloween special!

Hello!  It is Planner Friday again on the Trendy Twine blog and this month I am sharing with you the Halloween pages I have created in my journal...

Last month I showed you a peek inside my journal, well this month I wanted to show you how I will be documenting our Halloween celebrations!  


Happy Halloween!

I absolutely love Halloween!  I have so much fun getting ready for it, decorating the house, carving pumpkins, making spooky treats and watching (family friendly) scary movies with the children, it's one of my favourite times of year.  This year I want to record some of my memories so I have broken out my Annie's Paper Boutique stamps and some colouring pencils.


Products used:

You can read the rest of my post here.

Thanks for stopping by!


Saturday, 24 September 2016

My summer of freewheeling and dirty planning

First off I have to say I have no idea where summer went, I feel like I blinked and missed it!  Things were very quiet here on the blog for a couple of reasons, the first is I was freewheeling.  The six week summer holiday is the one time of year where I don't have to stick to a strict schedule and I can just coast along.  There are no assemblies, presentations, concerts, performances, games, or workshops I need to attend, I don't need to set an alarm for the mornings and on the whole everything is more relaxed and unstructured.  Because I have a lot less going on I don't need to rely on my planner as much as I do during the rest of the year, this leads us to my second reason.... dirty planning.  

Dirty planning

This is a term I heard in one of the planner groups on Facebook and it tickled me.  Dirty planning means no decoration, no fuss, just scribbling things down and not a scrap of washi tape in sight!  The only reminders I needed in my planner over the summer were for paying bills, birthdays and my husband's work schedule.  I knew I wouldn't have to check these multiple times a day so it didn't seem worth the effort to decorate my pages.  Instead I popped everything into my Dodo Pad inserts, they already have their own doodles and quotes on them which is more fun than blank pages and I didn't feel the need to liven them up.  It was kind of nice to take a break from washi, stamps and stickers for a while and it has made me enjoy playing with them even more now I am back to using them again.

Here are a few things I did over the summer:

* I received this gorgeous letter from Lucy of Quill London earlier in the year, I thought the envelope was so pretty I didn't want to throw it away so I turned it into a pocket to keep bits and pieces in my planner.

Envelope into planner pocket

* I have been in my Van der Spek organiser for over 12 months now, I still love it and I have no intention of moving out of it any time soon!

Planner peace

* The Color Run Birmingham (the happiest 5k on the planet), what an amazing day!  I can't wait to go again next year! 

Clouds of colour

It's a messy business

* I went on holiday, I adore being by the sea and spent as much time as I could on the beach.  I took my travellers notebook with me and had some fun filling it with memories and stories.  I will be showing you some of my pages from it next Friday so keep an eye out for that post.

Ilfracombe beach

Ilfracombe harbour

My Van der Spek travellers notebook

I think that's everything and we are all caught up now, I have a few My Weeks to share with you so I will be working on those next.

Thanks for stopping by and I hope you had a great summer too!


Wednesday, 13 April 2016

My Van der Spek Nomad Traveller's Notebook cover - part two

So carrying on from my previous post (the making of my cover) I wanted to show you the photos I took of my Nomad once it had arrived and then how I have set it up and what I am using it for.

Fresh out of the box

As I said before this is a custom cover so I decided the colours and leathers used to make it and the internal layout.  I went with Janet leather (104) on the outside which is a nice thick leather and a lovely orangey-brown/rust colour.  I had already had a sample of the leather from when I was designing my custom organiser so I knew what I was getting but seeing it on a larger scale as part of the finished cover, I was blown away by the quality of it.  It contrasts nicely with the undyed leather (102) interior and I couldn't wait to start using it!

Van der Spek give you a few different options for the Nomad covers:


  • The basic model -  just the cover with no pockets or pen loop.
  • The complete model - this has the same layout as mine on the left hand side of the cover and a secretarial flap and a slip pocket on the right hand side with an elasticated pen loop. 
  • The basic model with added extras - you can pick and mix what you need for your cover.


I added this standard pocket configuration to the basic cover
I chose the basic model with added extras.  I didn't think I would use a secretarial flap in my traveller's notebook so I didn't want to buy the complete cover but I did want some pockets and a pen loop so I added these options and I am very happy with how it turned out.

Elasticated pen loop on the right hand side

Perfect contrasting stitches

Back view of the elastics

At the moment I have two notebooks in the cover.  The first has grid paper and I am using it for lists and notes.  The second is made with plain paper and I am using it for being a bit creative.  It has been a very long time since I have had an art book but I was feeling inspired once I had set everything up so I got busy gluing and sticking and having a little fun.  Here are some more photos for you!

First notebook - grid paper

Slip pocket and zipped insert

Behind the slip pocket is space for business cards

What's inside my zipped compartment & the front
of my second notebook


The joys of spring

An extra little pocket made using a pretty paper bag

The view from above

So that's my new traveller's notebook!  I absolutely love it and I am really enjoying using it.  I will write another post about it soon.

Thanks for stopping by!


Friday, 1 April 2016

The making of my new Van der Spek custom Nomad traveller's notebook

I feel like the absolute first thing I must tell you about this post is that is it very photo heavy!  The lovely Petra from Van der Spek took lots of photos of my custom Nomad being made and a short video too and I wanted to share them all with you so you can see the work and craftsmanship that goes into their products.  Because there are so many photos I am spitting my story into two posts, this first one will show you my Nomad being made and the second post will be about when it arrived, how I am setting it up and what I will be using it for.  Ok lets begin....

After I brought my Van der Spek organiser last year I fell in love with it completely.  I have used it non-stop for the past seven months and since then I haven't brought any new planners or binders.  I don't feel the urge to swap between my organisers any more, I'm sticking with the VDS and it's amazing large rings.  However when I ordered my leather samples to help me decide which would be best for my custom organiser I did have a hard time choosing the ones I would use.  I really liked the Janet leather and I had a soft spot for the undyed leather too as I thought it might be fun to see how it changed with use and age.  I was also hooked on the whole Van der Spek experience, it was great to be able to design my own product and their customer service is wonderful.  So in January I had my Christmas money, my Van der Spek leather samples and the urge to buy something else off them but not another organiser because I already had the perfect one.  I went on their website and took a look around when I came across their Nomad covers.  I have always loved traveller's notebooks, I even made my own mini one using a Kate Spade passport cover but I have never owned a "proper" one.  I thought about it for a while before deciding to take the plunge.

Here come the photos!
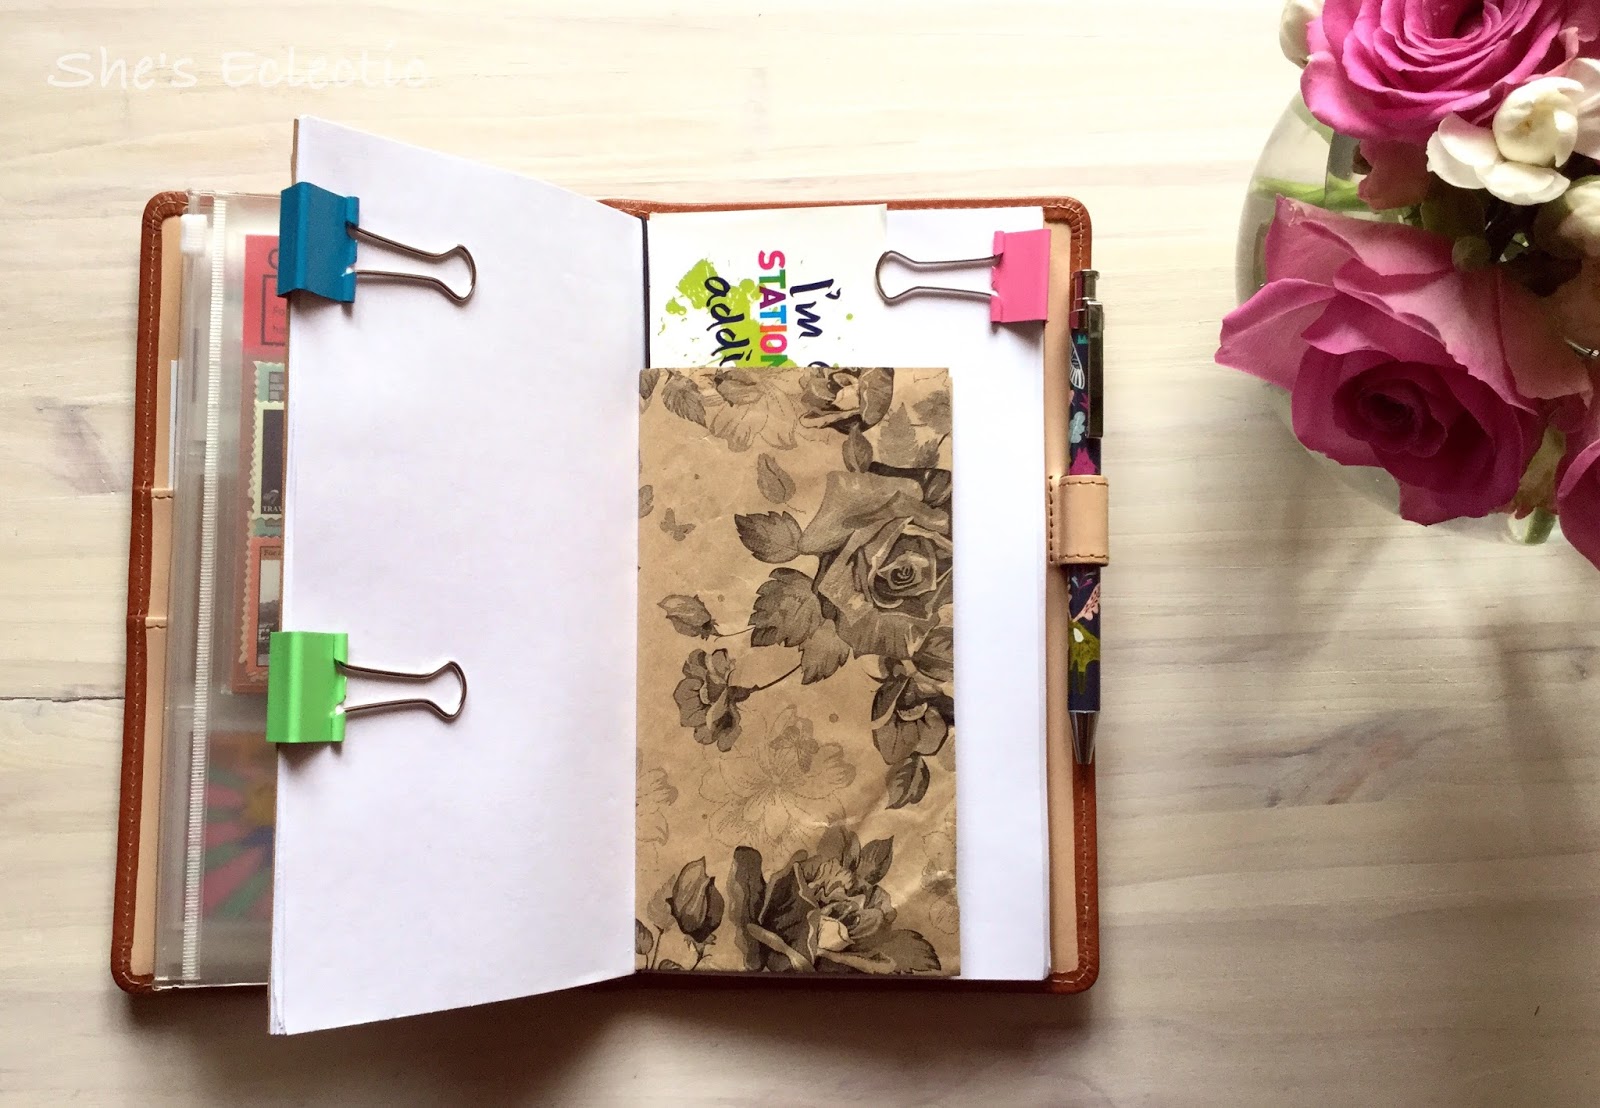

JP cutting out the pieces of leather for my cover -
104 Janet leather for the outside and
102 undyed for the inside


All of the components ready to be sewn together


I went with contrasting stitching again


Awaiting assembly


Making the card slots and pockets I ordered


Such care is taken even with the smallest of details


Adding the pen loop


Three card slots and the larger pockets


Adding the internal layout to the external cover


Joining the two together


Adding the holes for the elastics


Isn't the Janet leather a gorgeous colour?


Attaching the rivets


Are you ready to see the final product?


My custom layout inside, card slots and pockets on the left
and a pen loop on the right


The front cover


You can see how well the two colours go
together here, I love them!


This is the video Petra shot for me of the card slots and pockets being made...


I am so pleased with how my Nomad cover turned out, I will post the second part of this story as soon as I can.  I hope you have enjoyed my little peek behind the scenes at Van der Spek!


*Disclaimer - all photos and the video in this post were taken by Petra Van der Spek*